
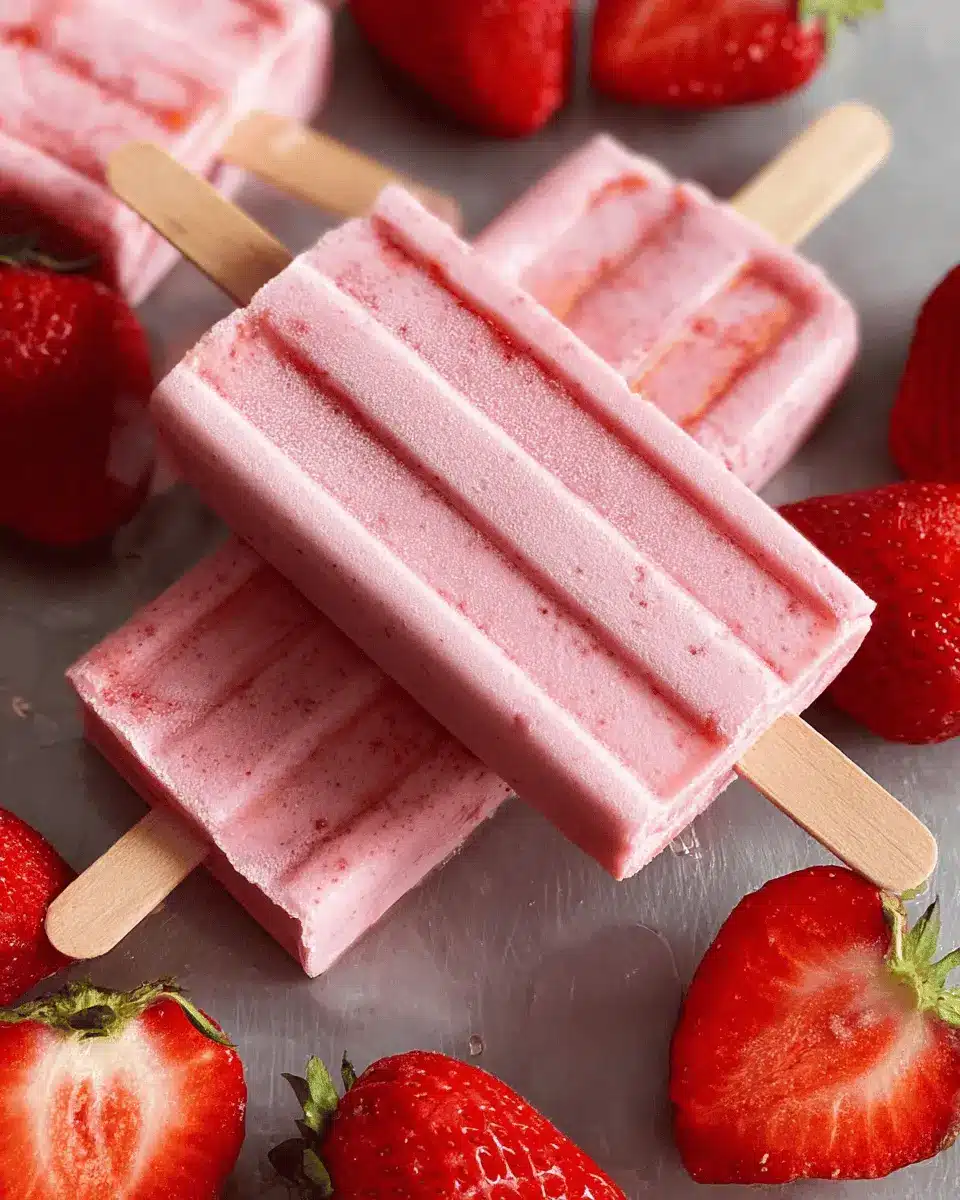
Introduction to Creamy Strawberry Paletas
If you’re looking for a deliciously refreshing treat that’s also easy to make, you’ve landed in the right place with creamy strawberry paletas. These delightful Mexican-style popsicles are the perfect balance of smooth creaminess and fresh strawberry flavor. Using only a few wholesome ingredients, they offer a guilt-free indulgence that’s as enjoyable on a hot summer day as it is during cozy evenings at home.
Why Choose Homemade Creamy Strawberry Paletas?
Making your own creamy strawberry paletas at home means you control the ingredients. You can use ripe, juicy strawberries and fresh cream, avoiding artificial flavors and preservatives often found in store-bought options. Plus, there's something rewarding about crafting your own treats! Imagine biting into a pop that bursts with fruity goodness, plus you can easily customize the sweetness to your liking.
And let’s not forget how fun it is to experiment with different textures and flavors. Want a little crunch? Consider adding some healthy toppings like granola or nuts! These paletas are not just a dessert; they’re a charming way to bring a taste of Mexico right into your kitchen.
So, roll up your sleeves, and let's get started on creating these irresistible treats!
Ingredients for Creamy Strawberry Paletas
Fresh Strawberries
When it comes to creamy strawberry paletas, the star ingredient is, of course, fresh strawberries! Aim for about 1.5 pounds of ripe, sweet strawberries. They not only provide the delightful berry flavor but also lend a vibrant color to your paletas. Feel free to pick some from a local market or farm for a taste that's unbeatable!
Sweeteners and Creams
To achieve that perfect balance of sweetness and richness, you’ll need a few creamy essentials. Start with ¼ cup of sugar to enhance the natural flavors of the strawberries. The base includes ½ cup of heavy whipping cream and ½ cup of Mexican crema, which adds a tangy richness. A little sweetened condensed milk (6-8 oz) goes a long way in making your paletas irresistibly sweet and creamy.
Stabilizers for Creaminess
What’s the secret to keeping your creamy strawberry paletas smooth instead of icy? A stabilizer is key! You can use ¼ teaspoon of cellulose gum for a silky texture, or if you prefer, opt for 2 teaspoons of cornstarch. Both options help maintain that creamy consistency, making every bite a luscious experience.
Explore more about the importance of stabilizers and cream in popsicle-making here.
Step-by-step Preparation of Creamy Strawberry Paletas
Preparing your own creamy strawberry paletas at home is an enjoyable and rewarding experience. Follow these steps to create a delicious treat that combines the sweetness of fresh strawberries with a rich, creamy base.
Prepare the strawberries
First things first, let's get our star ingredient ready! Begin by washing 1.5 pounds of fresh strawberries in cold water for about five minutes. This helps remove any dirt or pesticides. Rinse them again under cold water to ensure they’re clean and ready to shine in your paleta. Once they’re fresh and clean, it’s time to chop! Cut them into roughly equal pieces, keeping in mind that you can set aside some smaller chunks for adding later if you prefer little bursts of fruit in your paletas.
Macerate and blend the strawberries
Once your strawberries are chopped, sprinkle ¼ cup of sugar over them along with a pinch of salt (¼ tsp). Let them sit for about 20 to 30 minutes. This process is known as macerating, and it helps to draw out the juices, transforming the strawberries into a sweeter and more flavorful filling. After they’ve softened, blend the macerated strawberries until you achieve a smooth puree. You should be aiming for about 1.5 to 2 cups of strawberry puree. This vibrant mixture is the essence of your creamy strawberry paletas.
Create the creamy base
Now onto the creamy goodness! In a medium bowl, whisk together ½ cup of heavy whipping cream and ½ cup of Mexican crema, which adds a delightful tangy richness. Next, mix in 6-8 ounces of sweetened condensed milk and a pinch of salt, along with ¼ teaspoon of cellulose gum or 2 teaspoons of cornstarch for that perfect creamy texture. If you’re using cornstarch, you'll want to heat the mixture gently in a saucepan until it thickens. Remember not to let it boil—just keep stirring until it warms through.
Combine and mix
Time to bring it all together! Add your strawberry puree to the creamy mixture and gently stir until it’s just combined. If you’ve set aside some strawberry chunks earlier, now is the moment to fold them into the mixture for a delightful texture contrast. This can enhance the experience of your homemade creamy strawberry paletas even more!
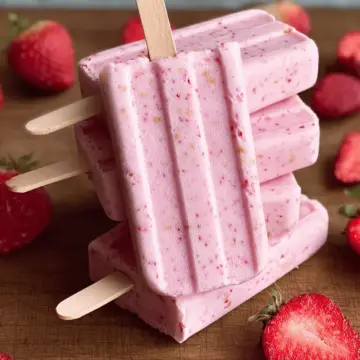
Pour into molds and freeze
Finally, it’s time to pour your mixture into popsicle molds. Be mindful as you place the sticks; they should be centered but not pushed all the way down, allowing enough room to hold. Freeze the paletas for a minimum of 8 hours to ensure they set properly. When you’re ready to enjoy them, run the molds under warm water for about 20 seconds to loosen. With a gentle wiggle, your creamy delights will slide right out.
These paletas can be stored in the freezer for up to two weeks, although they’re best enjoyed fresh! With these simple steps, you’ll bring a bit of summer to any day with homemade creamy strawberry paletas that are sure to impress your friends and family.
Variations on Creamy Strawberry Paletas
Strawberry Banana Paletas
If you love the combination of strawberries and bananas, try incorporating mashed bananas into your creamy strawberry paletas mix. Simply blend in one ripe banana with the strawberry puree for a delicious twist that adds a rich, creamy texture and a hint of tropical flavor. This variation is not only tasty but also gives a nutritional boost and a lovely color contrast!
Tropical Fruit Paletas
Looking for something a bit more exotic? Consider crafting tropical fruit paletas by blending strawberries with pineapple, mango, or coconut milk. This fruity medley will transport your taste buds to a beach paradise! Just remember to keep the same creamy base, and have fun experimenting with different fruit combinations. You can find inspiration from sources like TheKitchn for more ideas!
Cooking Tips and Notes for Creamy Strawberry Paletas
Choosing the Right Strawberries
When making creamy strawberry paletas, the quality of your strawberries is paramount. Opt for fresh, ripe strawberries that are bright red and fragrant. This ensures your paletas are bursting with flavor. If you can, visit a local farmers’ market or consider organic options, as they often provide the best taste and quality. Don't forget to check out this guide on selecting strawberries for more tips!
Importance of Blending Techniques
Achieving that silky smooth texture in your creamy strawberry paletas comes down to blending. Make sure to blend your macerated strawberries thoroughly until you get a velvety puree. This not only enhances the flavor but also minimizes any ice crystals in the final product. If you're using cornstarch for thickening, remember to heat your cream mixture gently to avoid lumps—nobody wants a gritty paleta!

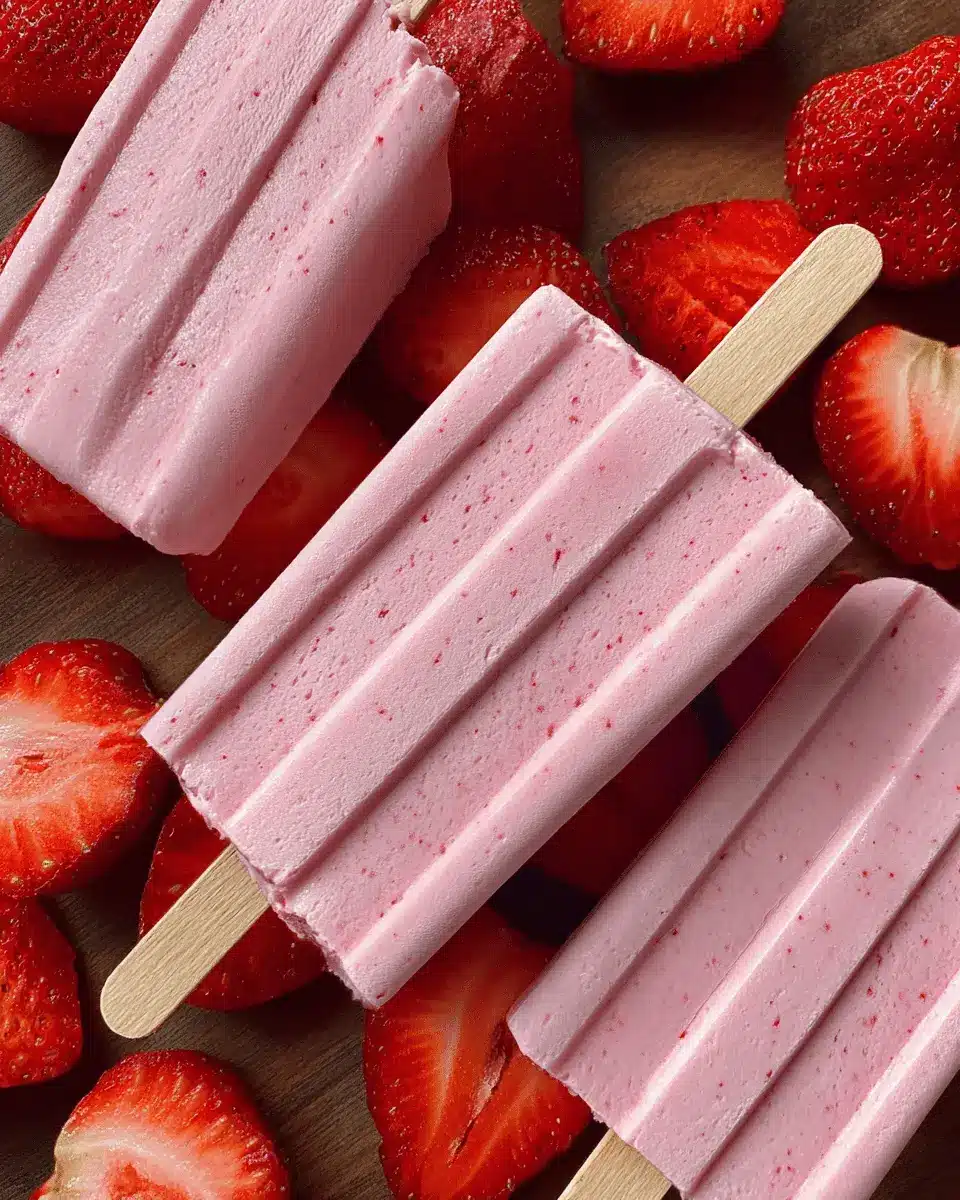
Serving Suggestions for Creamy Strawberry Paletas
Pairing with Fresh Fruits
Enhance your creamy strawberry paletas experience by pairing them with a colorful array of fresh fruits. Try serving them alongside:
- Ripe kiwis for a tangy contrast.
- Peach slices to add a juicy sweetness.
- A handful of raspberries for a tart kick.
These fresh fruits not only brighten your presentation but also elevate the flavors, making it feel like a mini summer party on your plate.
Creative Plating Ideas
Get a little creative with how you present your creamy strawberry paletas. Consider:
- Arranging paletas upright in a jar filled with crushed ice.
- Drizzling a homemade strawberry sauce for an artistic touch.
- Adding a sprinkle of toasted coconut flakes or chopped nuts on each pop for extra crunch.
Your guests will appreciate your attention to detail and be even more excited to dive into this delightful dessert!
Time Breakdown for Creamy Strawberry Paletas
Preparation Time
Making creamy strawberry paletas is a breeze! The preparation takes approximately 15 minutes. You'll be mixing strawberries and cream in no time, so it’s a great choice for a quick dessert option.
Freezing Time
After mixing your ingredients, it’s time for the magic to happen in the freezer. Allow your paletas to freeze for at least 8 hours to ensure they’re perfectly creamy and refreshing.
Total Time
All in all, you’re looking at a total time of about 8 hours and 15 minutes. Let the freeze work its charm, and you’ll be indulging in homemade deliciousness! For a delightful experience, you can pair these paletas with fresh mint or a slice of lime. Enjoy!
Nutritional Facts for Creamy Strawberry Paletas
Calories
Each creamy strawberry paleta contains approximately 150 calories, making them a delightful yet indulgent summer treat without packing on too many calories.
Sugar Content
With about 12 grams of sugar per serving, these paletas strike a balance between sweetness and creaminess, thanks to the real strawberries and sweetened condensed milk used in the recipe.
Protein
You'll find around 2 grams of protein in each paleta, thanks to the heavy whipping cream and Mexican crema, providing a creamy texture and a small protein boost while enjoying your favorite frozen dessert!
FAQs about Creamy Strawberry Paletas
How can I make my paletas less sweet?
If you’re looking to tone down the sweetness in your creamy strawberry paletas, simply reduce the amount of sugar or sweetened condensed milk in your recipe. Taste testing as you go is key! You can also add a splash of fresh lemon juice, which brings a nice tang that balances the sweetness beautifully.
Can I use frozen strawberries instead?
Absolutely! Frozen strawberries work great for creamy strawberry paletas. Just make sure to thaw them before blending. However, keep in mind that using fresh strawberries might offer a brighter flavor and better texture since frozen ones can be a bit mushy.
What’s the best way to store creamy paletas?
To keep your creamy strawberry paletas at their best, store them in an airtight container in the freezer. They can last up to two weeks, but for optimal texture and flavor, consume them within a week. If you notice any ice crystals forming, they may be getting a little old!
For more delicious frozen treats, check out our guide on how to create the perfect popsicle molds.
Conclusion on Creamy Strawberry Paletas
In summary, these creamy strawberry paletas are not only a delightful treat but also a fantastic way to enjoy fresh strawberries. With their rich and smooth texture, they will impress your friends and family. Don't hesitate to get creative with your flavors! Enjoy making these delicious popsicles!
Creamy Strawberry Paletas
Equipment
- popsicle mold
Ingredients
- 1.5 lb fresh strawberries
- ¼ cup sugar
- ¼ teaspoon salt
- ½ cup heavy whipping cream
- ½ cup Mexican crema can substitute with creme fraiche
- 6-8 oz sweetened condensed milk
- ¼ teaspoon cellulose gum or 2 teaspoon corn starch
Instructions
- Wash then soak strawberries in cold water for 5 minutes. Rinse under cold water again.
- Roughly chop the strawberries. You can also cut smaller chunks and set them aside to add into the popsicle mold later if you want.
- Cover the strawberries in sugar and let it sit for 20-30 minutes to macerate.
- Blend the macerated strawberries until you get a smooth puree. You should have about 1.5 to 2 cups of puree.
- Combine the heavy whipping cream, crema, sweetened condensed milk, salt, and cellulose gum with an electric mixer. Mix for about a minute or until it starts to thicken a bit.
- Alternatively, if you're using cornstarch, combine the heavy whipping cream, crema, salt, and sweetened condensed milk in a small saucepan. Stir and do not let it boil. Once it's hot, mix about ¼ cup with the cornstarch until smooth and add back to the saucepan, stirring until it thickens.
- Add the strawberry puree and mix until just combined, then fold in the strawberry chunks if using.
- Pour into your popsicle mold.
- Be mindful about the popsicle stick placement when you're sticking them into the mold. You don't want to push them all the way down but also want to make sure it's deep enough and centered.
- Freeze for at least 8 hours. To remove the paletas from the mold, place it in warm water for about 20 seconds to loosen.
- With a little wiggling and force, the popsicles will slide out perfectly. Stretch the sides of the silicone mold to help loosen a bit more.
- Store in the freezer for up to 2 weeks. They can be kept longer but may form more ice crystals.


Leave a Reply