
Introduction to Butterfinger Pie
Butterfinger Pie has become a beloved treat in many households, especially for those who are fans of the iconic Butterfinger candy bar. The origin of this dessert can be traced back to creative home bakers who wanted to incorporate their favorite candy into a delicious, no-bake pie. Over the years, this pie has gained popularity due to its simplicity and the delightful combination of flavors and textures it offers. The ease of preparation and the rich, creamy filling make it a go-to dessert for holidays, parties, and special occasions.
What Makes Butterfinger Pie Unique and Delicious
Several factors contribute to the unique appeal of Butterfinger Pie:
- No-Bake Preparation: Unlike traditional pies that require baking, Butterfinger Pie is a no-bake dessert, making it quick and easy to prepare. This feature is especially convenient during the hot summer months when avoiding the oven is a priority.
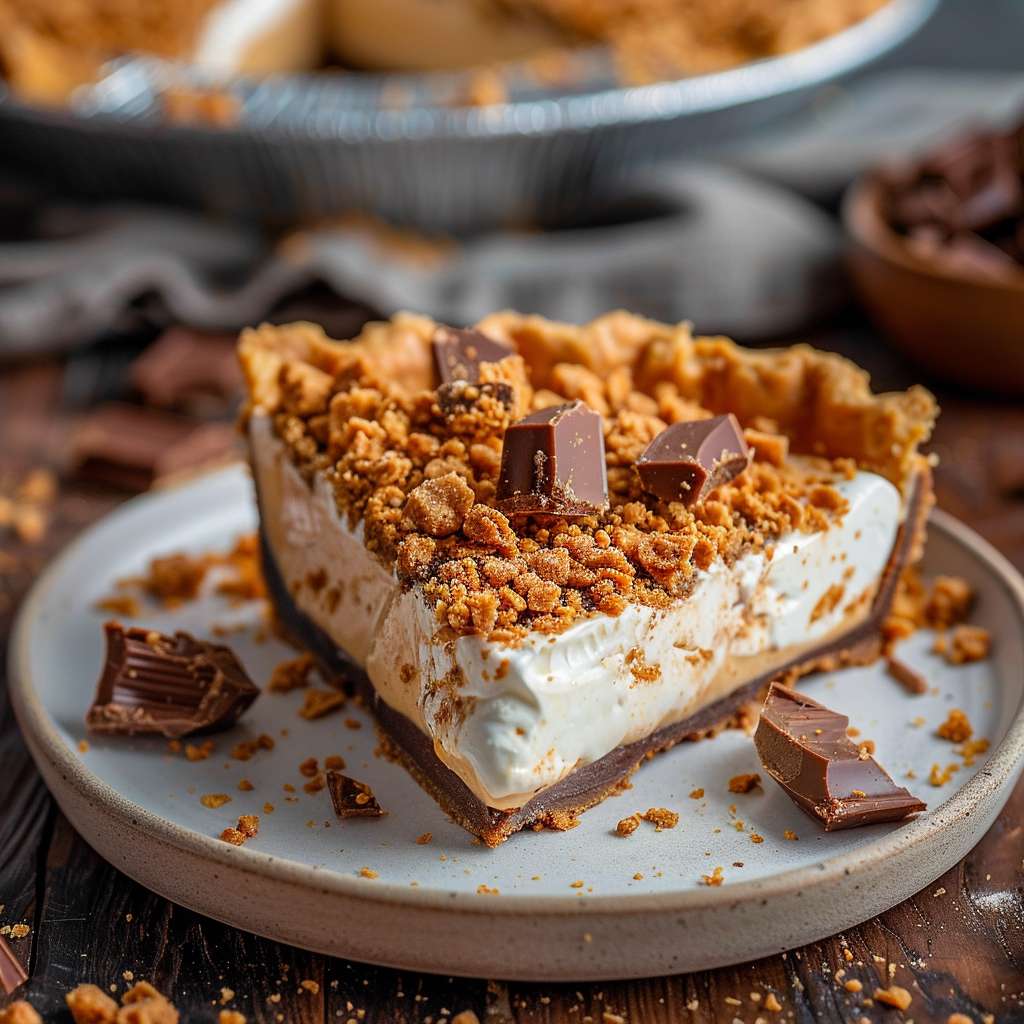
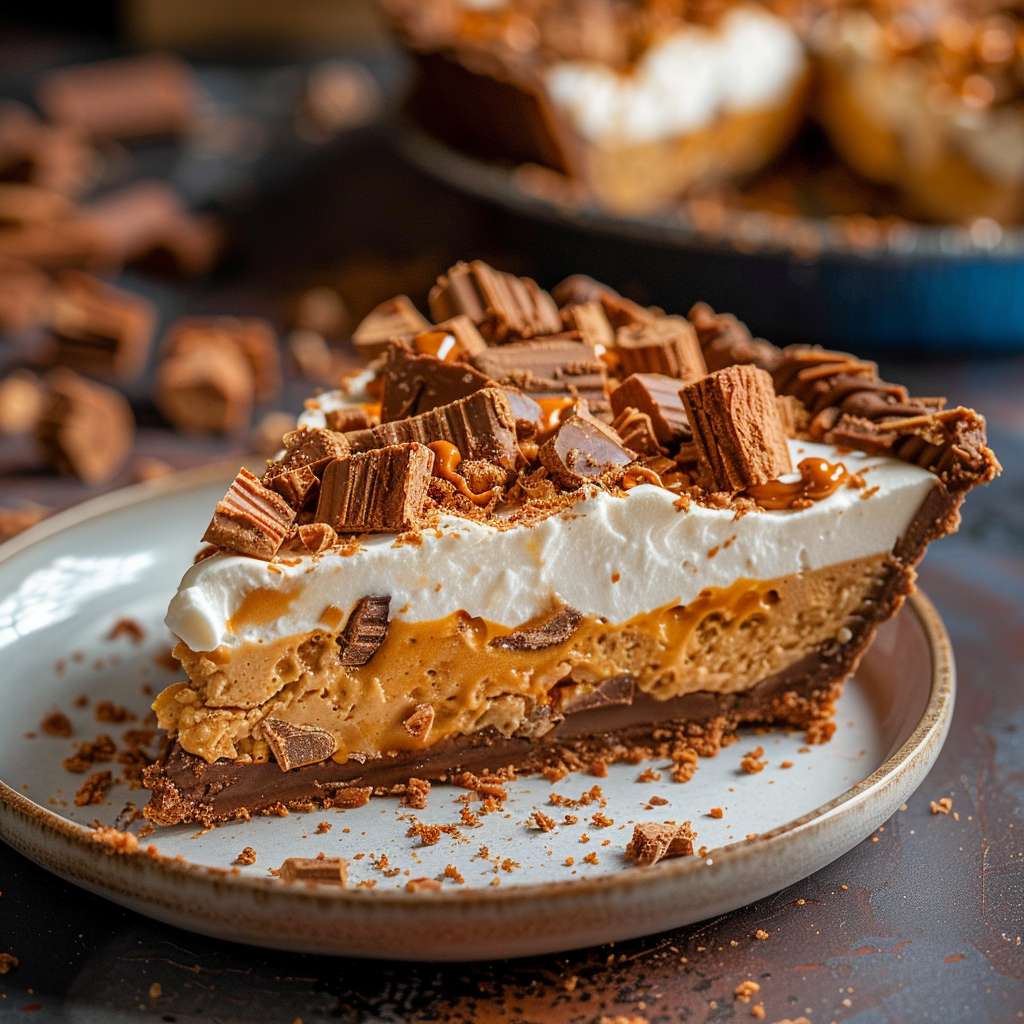
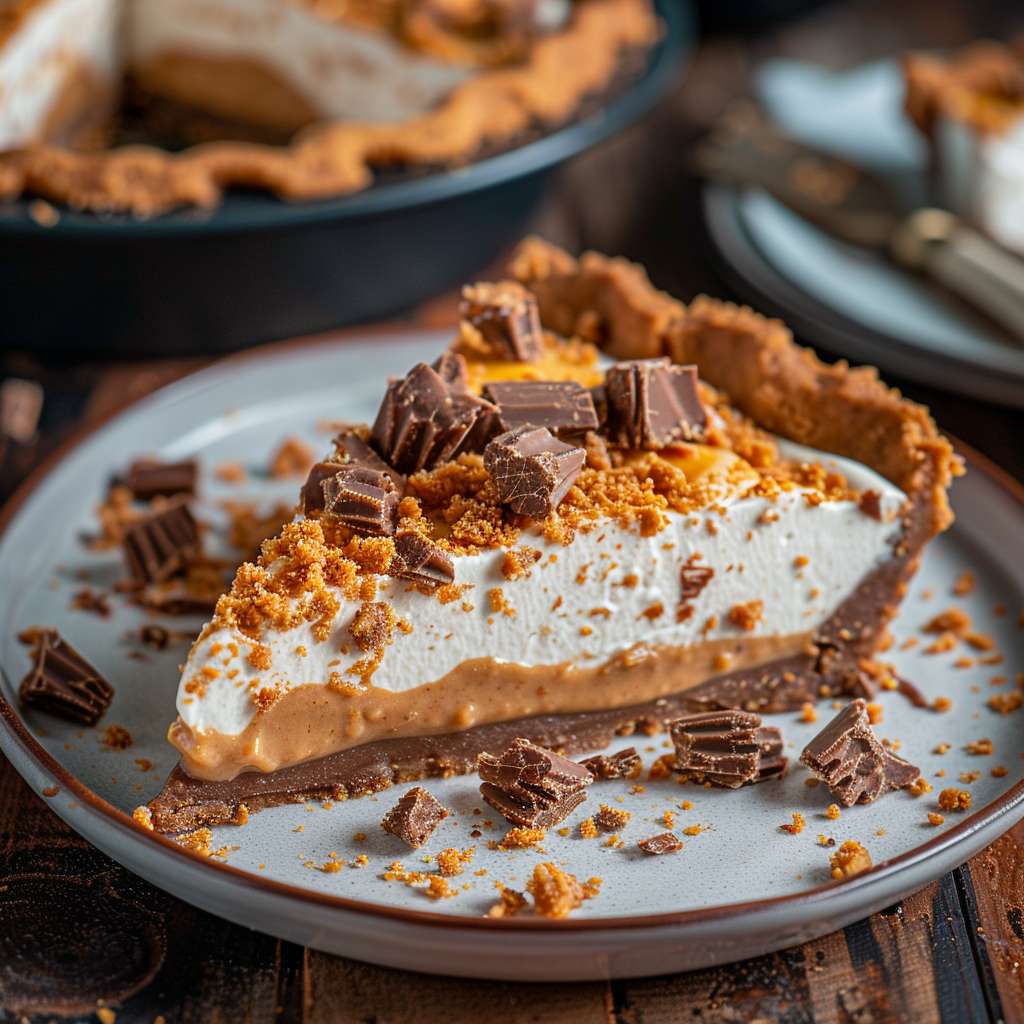
- Rich, Creamy Filling: The combination of cream cheese, peanut butter, and crushed Butterfinger bars creates a rich and creamy filling that is both decadent and satisfying. The crunchy bits of Butterfinger add a delightful texture contrast to the smooth filling.
- Oreo Crust: The base of the pie is made from crushed Oreo cookies, which provides a chocolatey foundation that perfectly complements the peanut butter and Butterfinger flavors. For those who prefer a different base, a graham cracker crust can be a delicious alternative.
Key Features of Butterfinger Pie
- Quick Preparation: With a total prep time of just 20 minutes, Butterfinger Pie is incredibly quick to put together. After a few hours of chilling in the refrigerator, it’s ready to serve.
- Simple Ingredients: The pie requires only a handful of ingredients, most of which are pantry staples or easily accessible at any grocery store.
- Crowd-Pleasing Flavor: The combination of sweet, salty, and crunchy elements ensures that Butterfinger Pie is a hit with both kids and adults alike.
Storing and Serving Tips
Properly storing your Butterfinger Pie ensures it stays fresh and maintains its delicious flavor and texture.
Proper Storage Techniques
- Refrigeration: After preparing your Butterfinger Pie, cover it tightly with plastic wrap and place it in the refrigerator. This helps to keep the pie fresh and prevents it from absorbing any unwanted odors from other foods.
- Covering: Use plastic wrap or an airtight container to cover the pie. This will prevent it from drying out and keep the whipped cream topping intact.
Freezing Instructions for Later Use
- Preparation for Freezing: If you plan to freeze the pie, wrap it in plastic wrap and then in a layer of aluminum foil to protect it from freezer burn.
- Freezing Duration: Butterfinger Pie can be frozen for up to 1 month. When ready to serve, thaw the pie in the refrigerator overnight.
- Serving from Frozen: For a different texture, you can serve the pie slightly frozen. This gives it a firmer consistency, which some people may prefer.
Serving Suggestions and Pairing with Other Desserts
- Presentation: For clean, precise slices, use a sharp knife and wipe it clean between each cut.
- Pairing: Butterfinger Pie pairs wonderfully with a scoop of vanilla ice cream or a dollop of whipped cream. For an extra indulgence, drizzle some chocolate syrup over the top.
- Complementary Desserts: Serve Butterfinger Pie alongside other no-bake desserts such as peanut butter balls or Oreo mousse for a delightful dessert spread.
Variations and Substitutions
Gluten-Free Option
- Gluten-Free Crust: To make a gluten-free version of Butterfinger Pie, simply substitute the Oreo crust with gluten-free Oreos. The rest of the ingredients are naturally gluten-free, ensuring everyone can enjoy this dessert without worry.
Using Graham Cracker Crust
- Alternative Crust: If you prefer a graham cracker crust, here’s a simple recipe:
- 1 ½ cups graham cracker crumbs
- ¼ cup brown sugar
- 6 tbsp melted butter
- Combine all the ingredients and press into the pie pan. This crust provides a lighter, slightly sweeter base compared to the Oreo crust.
Different Toppings and Mix-Ins
- Toppings: Get creative with your toppings! Try adding crushed peanuts, mini chocolate chips, or a drizzle of caramel sauce on top of the whipped cream.
- Mix-Ins: For a twist on the classic recipe, mix in other candies like chopped Reese’s Pieces or M&Ms into the filling. This adds an extra layer of flavor and texture to your pie.
