
Introduction to Homemade Red Velvet Cake
Baking a homemade red velvet cake might seem daunting, but the payoff is absolutely worth it! There’s a distinct joy in mixing the ingredients yourself, watching the batter come together, and knowing exactly what’s going into your dessert. Unlike store-bought options, homemade cakes allow you to control the flavors and quality of ingredients, ensuring a fresh, moist, and rich experience that simply can’t be duplicated. Plus, there’s something incredibly satisfying about serving up a cake you made from scratch to friends and family.
So why choose homemade cake over store-bought?
-
Quality Ingredients: When you bake at home, you can use high-quality ingredients, like real butter and fresh eggs, which makes a significant difference in taste.
-
Customization: Feel like adding a little more chocolate or a unique twist? Homemade recipes let you experiment to create a cake that’s uniquely yours.
-
Freshness: A homemade red velvet cake tastes best when eaten fresh, and you can bake it just the way you like it, ensuring it’s always at its peak.
For anyone looking to impress or just indulge, this homemade red velvet cake is a delightful option. Let’s dive into the recipe and start baking!
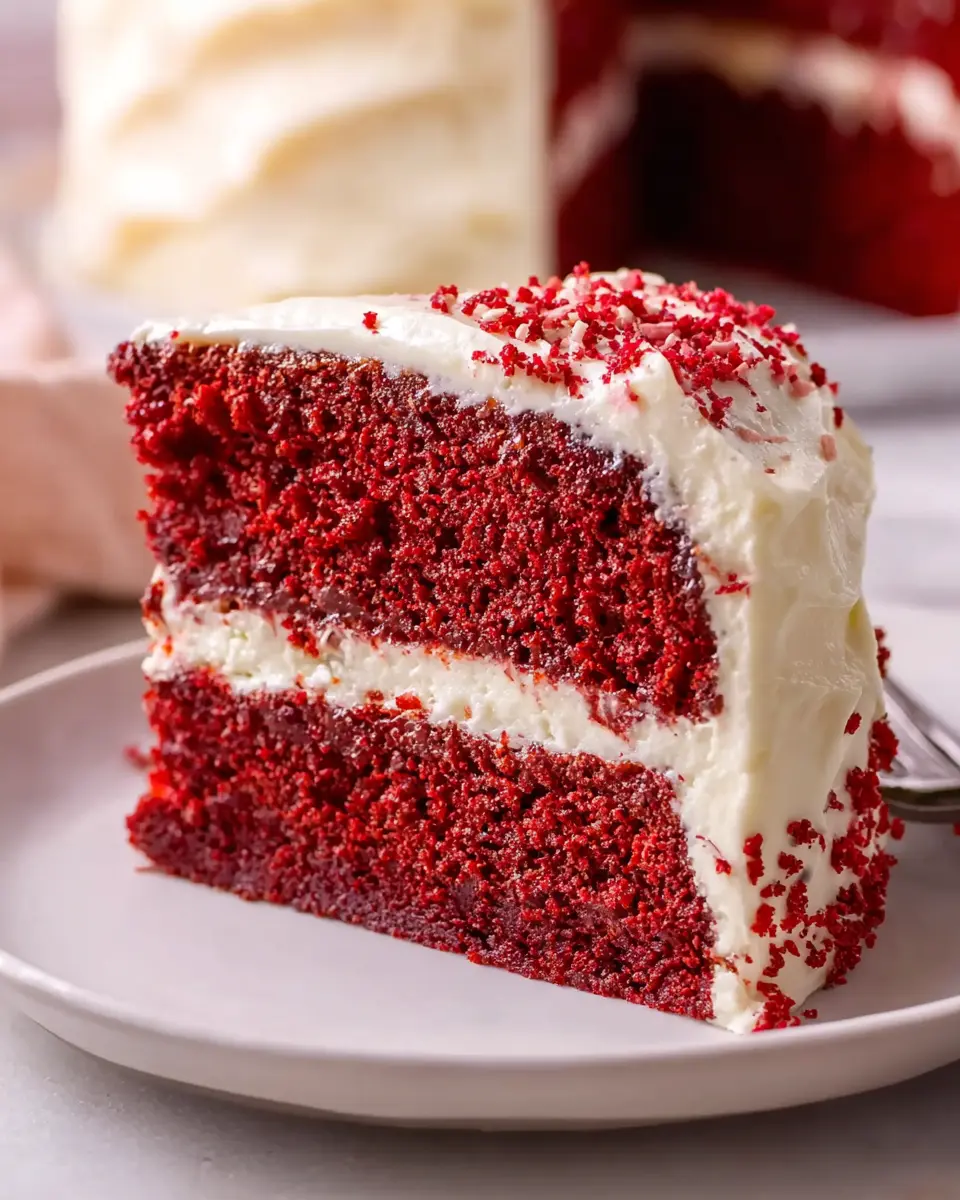
Ingredients for Homemade Red Velvet Cake
Creating the perfect homemade red velvet cake starts with gathering just the right ingredients. Here’s a breakdown of what you’ll need for both the cake itself and the irresistible cream cheese frosting.
Essential ingredients for the cake
For a moist and flavorful cake, you will need:
- 3 cups all-purpose flour: Provides the foundation for your cake.
- 2 cups white sugar: Sweetens the mixture for that indulgent taste.
- 3 tablespoons unsweetened cocoa powder: Adds a subtle chocolate flavor.
- 3 large eggs: Essential for structure and moisture.
- 1 ½ cups vegetable oil: Contributes to the cake's tenderness.
- 1 ½ cups buttermilk: Ensures the cake stays moist and adds a tangy flavor.
- 2 tablespoons red food coloring: Gives your cake that signature hue!
Key components for the cream cheese frosting
To crown your masterpiece, you'll need:
- 2 (8-ounce) packages of cream cheese, softened: The base of your creamy frosting.
- 1 cup white sugar: For sweetness that balances the tang of the cream cheese.
- 1 teaspoon vanilla extract: Enhances the frosting's flavor.
- ¼ cup all-purpose flour: Helps to thicken the frosting to the right consistency.
Each ingredient plays a vital role in this dessert's deliciousness. For more tips on baking, don’t forget to check out resources like King Arthur Baking for expert advice!
Preparing Homemade Red Velvet Cake
Baking a homemade red velvet cake is a delightful journey filled with vibrant colors and rich flavors. This iconic dessert is not only visually stunning but also offers a unique taste that marries cocoa and a hint of tanginess from buttermilk. Let’s walk through the steps to create this mouthwatering cake together!
Gather and prep the ingredients
Start by collecting all your ingredients to streamline the baking process. Here's what you need:
- For the cake: all-purpose flour, sugar, cocoa powder, baking soda, baking powder, salt, eggs, vegetable oil, buttermilk, sour cream, red food coloring, vanilla extract, and white vinegar.
- For the frosting: cream cheese, sugar, flour, salt, milk, and more vanilla extract.
Once gathered, preheat your oven to 350°F (175°C) and butter and flour two 9-inch round cake pans. This preparation ensures the cake releases easily post-baking—a vital step for any successful cake!
Mix the dry ingredients for the cake
In a large mixing bowl, sift together the flour, sugar, cocoa powder, baking soda, baking powder, and salt. Sifting not only removes lumps but helps incorporate air, resulting in a lighter texture. This mixture will serve as the base for your homemade red velvet cake.
Combine the wet ingredients
In another bowl, whisk the eggs until smooth. Then, mix in your vegetable oil, buttermilk, sour cream, red food coloring, vanilla extract, and white vinegar. The acidity from the buttermilk and vinegar enhances the cake's soft texture while the food coloring gives it that distinctive red hue.
Create the red velvet batter
Now, gently add your dry ingredients to the wet mixture in three parts. Be careful not to over mix. If you're using an electric mixer, do so until just combined. Once ready, divide the batter evenly between the prepared pans. Can you already smell the deliciousness?
Bake the cake layers to perfection
Place your pans in the preheated oven and bake for approximately 35 to 40 minutes. The cake is done when a toothpick inserted into the center comes out clean. This is the moment to check your oven—stay vigilant!
Cool and prepare for frosting
After baking, let your cakes cool in the pans for about 10 minutes before transferring them to a wire rack to cool completely. This cooling step is crucial for the frosting to adhere properly, ensuring a beautiful finish.
Make the cream cheese frosting
While your cake cools, whip your cream cheese in a bowl using an electric mixer until it’s light and fluffy. In a saucepan, combine the remaining sugar, flour, salt, and milk over medium heat until thickened, then mix this into your whipped cream cheese after it cools slightly. This frosting will complement your homemade red velvet cake wonderfully, balancing the cake's sweetness.
Frost the cake and present it beautifully
Finally, frost your cooled cake generously with the cream cheese frosting. For an elegant touch, consider sprinkling crushed nuts or chocolate shavings on top. Presentation counts when it comes to impressing guests or enjoying a well-deserved treat!
This homemade red velvet cake is perfect for any occasion—whether it’s a birthday celebration or simply a cozy night in. Enjoy every bite! If you're looking for more ideas on how to customize your cake or other variations, check out resources like King Arthur Baking for more inspiration. Happy baking!
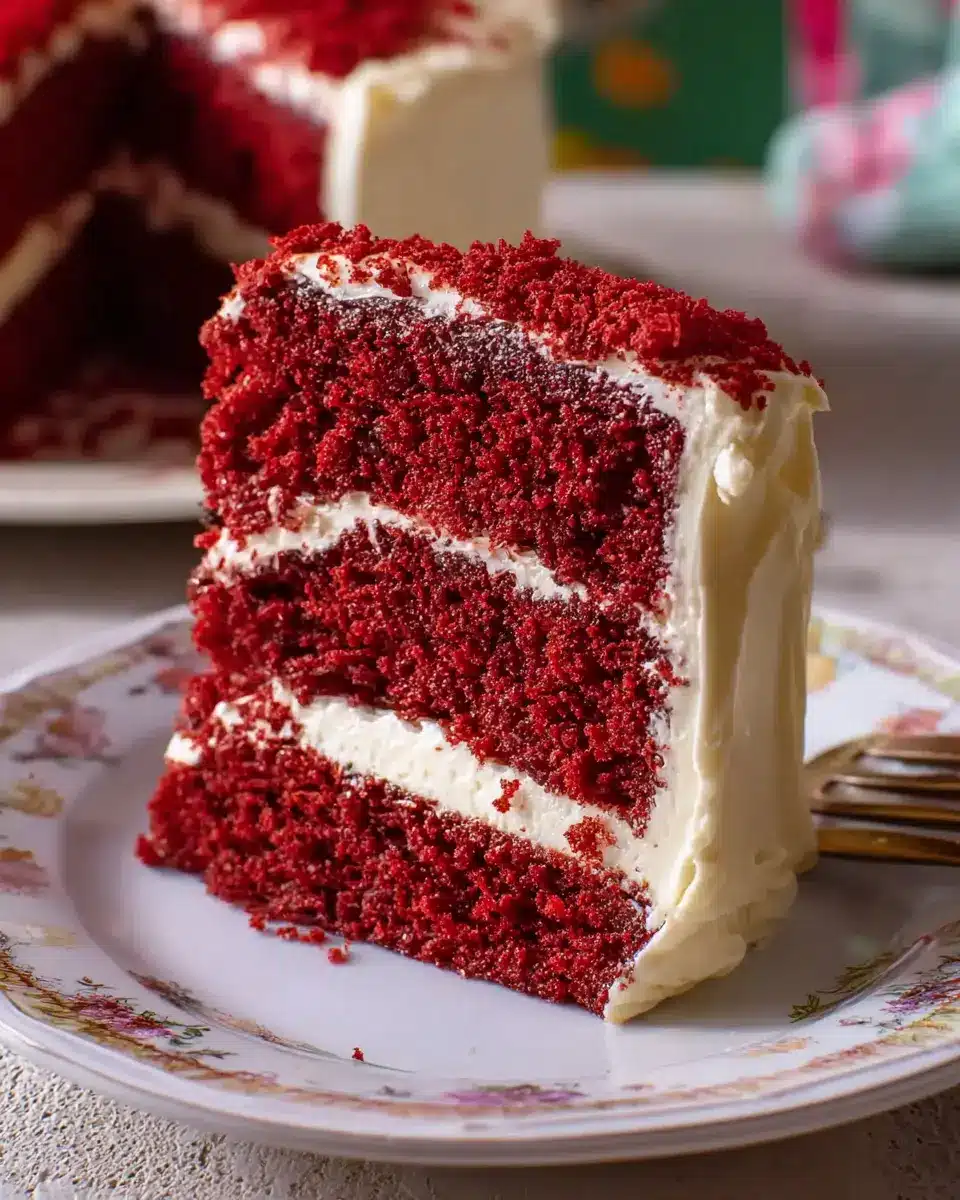
Variations on Homemade Red Velvet Cake
Red Velvet Cupcakes
Looking to bring a delightful twist to your homemade red velvet cake? Try making red velvet cupcakes! They’re perfect for parties, easy to grab, and add a fun personal touch. Just follow the same batter recipe, but pour it into cupcake liners. Bake for about 20-25 minutes, then top with that delicious cream cheese frosting. You could even add festive sprinkles for a pop of color!
Gluten-Free Red Velvet Cake
Craving homemade red velvet cake, but need a gluten-free option? No problem! Substitute the all-purpose flour for a gluten-free flour blend. Ensure the rest of your ingredients are also gluten-free, and you’ll have a moist and delicious cake that everyone can enjoy. Check out gluten-free baking resources like King Arthur Baking for tips.
Layered Red Velvet Cakes with Fillings
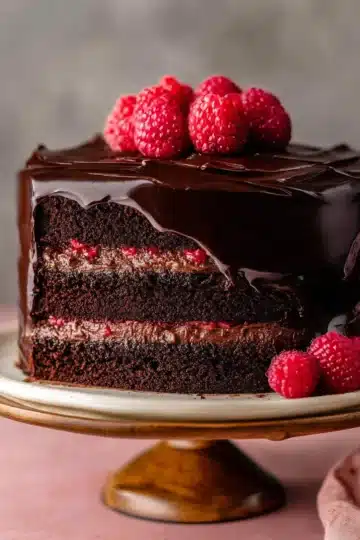
For a more decadent experience, consider crafting a layered red velvet cake with fillings! Stack multiple layers of your homemade red velvet cake, interspersing rich fillings like chocolate ganache or raspberry preserves. The contrasting flavors quickly elevate this classic recipe into a show-stopping dessert perfect for any celebration. Don’t forget to generously frost the outside for an extra touch of elegance!
Baking Notes for Homemade Red Velvet Cake
Common Baking Mistakes to Avoid
To whip up the perfect homemade red velvet cake, keep an eye out for these common baking pitfalls:
- Overmixing the batter: This can lead to a dense cake. Mix just until the ingredients are combined.
- Not measuring accurately: Use a kitchen scale or measuring cups correctly. Too much flour can make your cake dry.
- Skipping room temperature ingredients: Ensure your eggs, buttermilk, and cream cheese are at room temperature for better mixing and texture.
Tips for Achieving the Right Texture
Want that melt-in-your-mouth texture? Try these tips:
- Use quality ingredients: Fresh, high-quality cocoa and buttermilk enhance flavor.
- Don’t skip the vinegar and baking soda: This combination adds to your cake's lightness and moisture.
- Cool cakes properly: Let the layers cool completely to prevent sogginess and make frosting easier.
For more insights, check out resources from King Arthur Baking or Serious Eats. Happy baking!
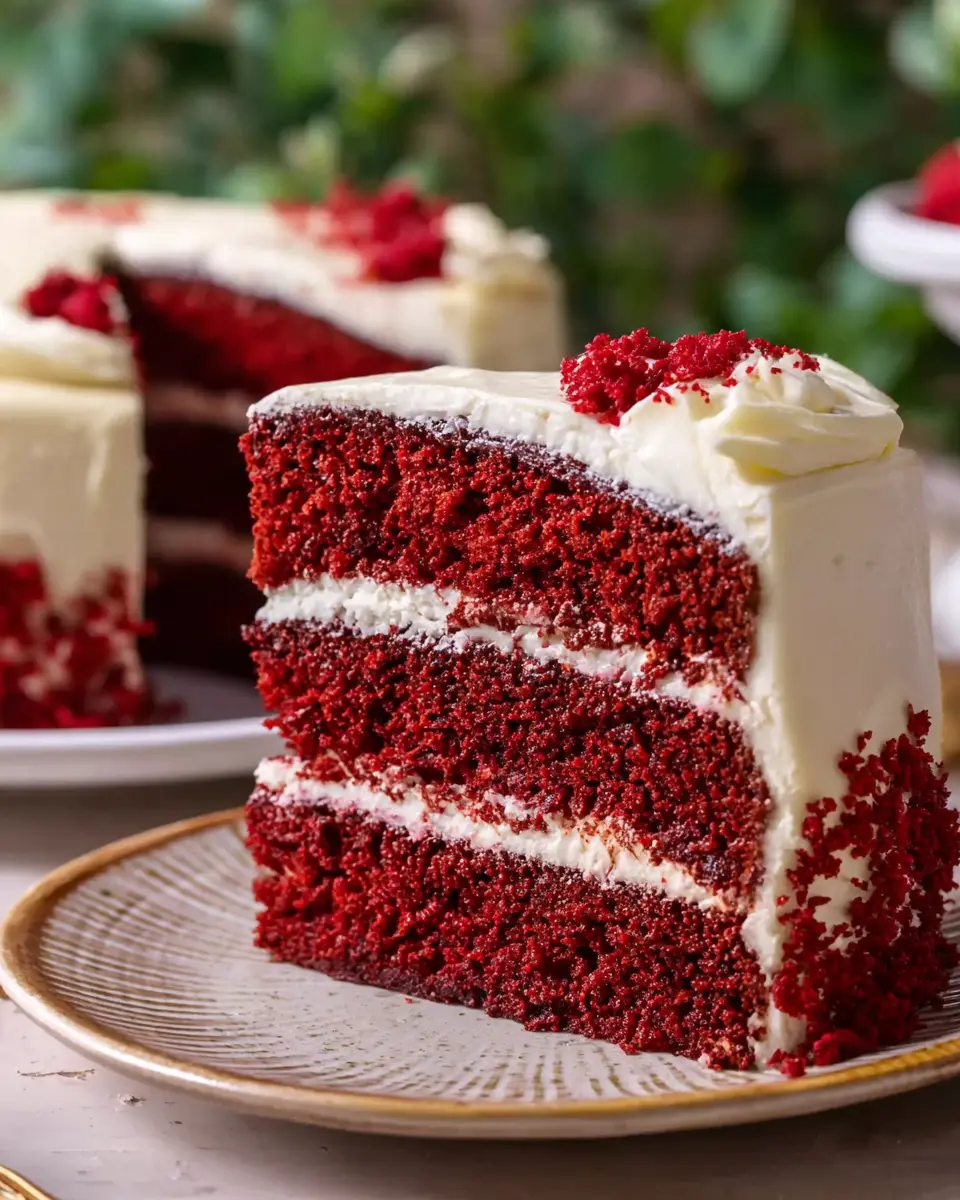
Serving Suggestions for Homemade Red Velvet Cake
Pairing with Beverages
When enjoying homemade red velvet cake, the right beverage can elevate your dessert experience. Consider pairing it with:
- Coffee: A robust cup of coffee complements the cake’s rich flavor beautifully.
- Milk: Classic and comforting, a glass of milk enhances the cake’s sweetness.
- Herbal teas: Floral or fruity teas can offer a refreshing contrast to the decadent frosting.
Ideal Occasions for Serving
There's no shortage of occasions to present your homemade red velvet cake. Think of:
- Birthday celebrations: This vibrant cake is a showstopper for any birthday party!
- Anniversaries: Elevate your special evening with a slice of this classic dessert.
- Baking parties: A fun, interactive way to bond, complete with a delightful treat at the end.
Looking for more inspiration? Check out Epicurious for ideas on themed dessert pairings!
Tips for Making Perfect Homemade Red Velvet Cake
Importance of Measuring Accurately
When it comes to creating the perfect homemade red velvet cake, precision is key. Accurate measurements ensure the right balance of flavors and textures. Always use the spoon and level method for flour—scoop it with a spoon, then level it off with a knife. This prevents you from packing too much flour, which can lead to a dense cake. A kitchen scale is a fantastic investment for precise measurements, especially for ingredients like sugar and flour.
Cooling Tips for the Cake Layers
Proper cooling is essential for achieving that flawless texture. After baking, allow the cakes to cool in their pans for about 10 minutes. Then, gently transfer them to a wire rack to cool completely—this keeps them moist and prevents sogginess. If you're short on time, pop them in the fridge for a quick cool down! Remember, completely cooled layers are crucial for smooth frosting application and avoid a melty disaster.
For more baking tips, check out King Arthur Baking for expert advice!
Time Details for Homemade Red Velvet Cake
Preparation Time
This delightful homemade red velvet cake takes about 30 minutes to throw together. It's the perfect opportunity to gather all your ingredients and get that oven preheated while you dive into mixing!
Baking Time
Once your batter is ready, pop those cakes in the oven for around 45 minutes. Just wait patiently as the delicious aroma fills your kitchen.
Total Time
From start to finish, you’re looking at a total of about 1 hour and 55 minutes. But don’t worry—this time includes cooling and frosting, which is definitely the best part! If you need tips on perfecting your cake layers, check out this guide on baking basics.
Baking is all about timing, so mark your calendars and get ready for a slice of joy with this stunning red velvet creation!
Nutritional Information for Homemade Red Velvet Cake
When indulging in a slice of homemade red velvet cake, it’s always good to know what you’re getting. Here’s a quick breakdown of the nutritional facts to keep your dessert enjoyment balanced.
Calories
A slice packs about 758 calories, making it a rich treat perfect for special occasions.
Total Fat
This cake contains approximately 45 grams of total fat, which includes 14 grams of saturated fat. It’s definitely a dessert to savor!
Sugars
With around 53 grams of sugars, the sweetness complements the cake's delightful flavors, enhancing that iconic red velvet experience.
For more insightful nutritional information, check out the USDA’s FoodData Central! It's a great resource for food values and dietary guidelines. Enjoy your baking adventure!
FAQs about Homemade Red Velvet Cake
What gives red velvet cake its unique flavor?
The signature flavor of homemade red velvet cake comes from a delightful combination of cocoa powder and buttermilk, giving it a subtle chocolatey taste that’s different from regular chocolate cakes. The acid in buttermilk also enhances the cake’s tenderness, making each bite irresistibly moist. Additionally, a hint of vanilla and the tanginess from the cream cheese frosting create a balanced flavor profile that keeps everyone coming back for more!
Can I substitute buttermilk in the recipe?
Absolutely! If you’re out of buttermilk, a quick substitution is to mix 1 cup of milk with 1 tablespoon of lemon juice or vinegar. Let it sit for about five minutes to sour before adding it to your cake batter. This will mimic the acidity of buttermilk and help achieve that lovely moist texture.
How to store leftover red velvet cake?
To keep your homemade red velvet cake fresh, store any leftovers in an airtight container. If you have a frosted cake, chilling it in the fridge can prevent it from drying out. For extended storage, consider slicing the cake and wrapping pieces individually in plastic wrap before freezing. This way, you can enjoy a slice whenever you crave that decadent flavor!
Conclusion on Homemade Red Velvet Cake
In closing, this homemade red velvet cake is not just a dessert; it’s an experience! With its rich flavor and velvety texture, it’s perfect for celebrations or simply indulging in a sweet treat. Share it with friends and family, and enjoy the joy it brings!
Homemade Red Velvet Cake
Equipment
- mixing bowl
- Electric mixer
- oven
- Cake Pans
- measuring cups
- whisk
Ingredients
Red Velvet Cake
- 3 cups all-purpose flour
- 2 cups white sugar
- 3 tablespoons unsweetened cocoa powder
- 1.5 teaspoons baking soda
- 0.5 teaspoon baking powder
- 1.25 teaspoons salt
- 3 large eggs
- 1.5 cups vegetable oil
- 1.5 cups buttermilk
- 0.5 cup sour cream
- 2 tablespoons red food coloring
- 1 tablespoon vanilla extract
- 1.5 teaspoons white vinegar
Cream Cheese Frosting
- 2 packages (8 ounce) cream cheese at room temperature
- 1 cup white sugar
- 0.25 cup all-purpose flour
- 0.5 teaspoon salt
- 1 cup milk
- 1 teaspoon vanilla extract
Instructions
Preparation
- Gather all ingredients. Preheat the oven to 350 degrees F (175 degrees C). Butter and flour two 9x2-inch round cake pans.
- Sift flour, sugar, cocoa powder, baking soda, baking powder, and salt together in a bowl; set aside.
- Whisk eggs in a large bowl until smooth. Add oil, buttermilk, sour cream, food coloring, vanilla extract, and vinegar; whisk until combined.
- Add flour mixture in 3 batches, mixing by hand as little as possible so as not to over beat. If using an electric mixer, add flour mixture and mix until just incorporated. Divide batter between the prepared pans.
- Bake in the preheated oven until a toothpick inserted into centers comes out clean, 35 to 40 minutes.
- Cool in the pans for 10 minutes, then remove from pans to cool completely on a wire rack, 20 to 30 minutes more.
- Meanwhile, whip cream cheese in a bowl using an electric mixer on high speed until light and fluffy, about 5 minutes. Scrape into a different bowl.
- Sift remaining sugar, flour, and salt together in a medium saucepan. Heat over medium-high heat; slowly whisk in milk and vanilla extract until there are no lumps. Cook until starts to bubble and becomes thick and pudding-like, 7 to 8 minutes.
- Pour into a bowl; refrigerate for 10 minutes.
- Whisk chilled milk mixture with an electric mixer fitted with the whisk attachment for 5 minutes. Slowly add whipped cream cheese, whisking until frosting becomes smooth, about 5 minutes.
- Frost cooled cake. Enjoy!


Leave a Reply