
Introduction to Japanese Katsu Bowls
What are Japanese Katsu Bowls and Why are They Popular?
Japanese Katsu Bowls are a delightful fusion of crispy breaded meat, typically chicken or beef, served over a bed of fluffy short-grain rice. At the heart of this dish is the tonkatsu sauce, a sweet and savory condiment that elevates the flavors and makes each bite an experience. Originating from Japan, katsu has gained immense popularity not just for its taste but also for its versatility.
You might wonder, what makes these bowls so appealing? For many busy professionals, they provide a convenient yet satisfying meal option. The balance of textures—the crunch of the katsu, the soft rice, and optional crisp cabbage—offers a sensory delight. Plus, they are easy to customize! Want to add some veggies or swap the protein? Go for it!
Katsu Bowls are not only delicious but also visually striking, making them perfect for Instagram and impressing dinner guests. If you're curious about where to explore more about Japanese cuisine, consider visiting the Japan National Tourism Organization for inspiration. Get ready to experience the magic of Katsu Bowls in your own kitchen!
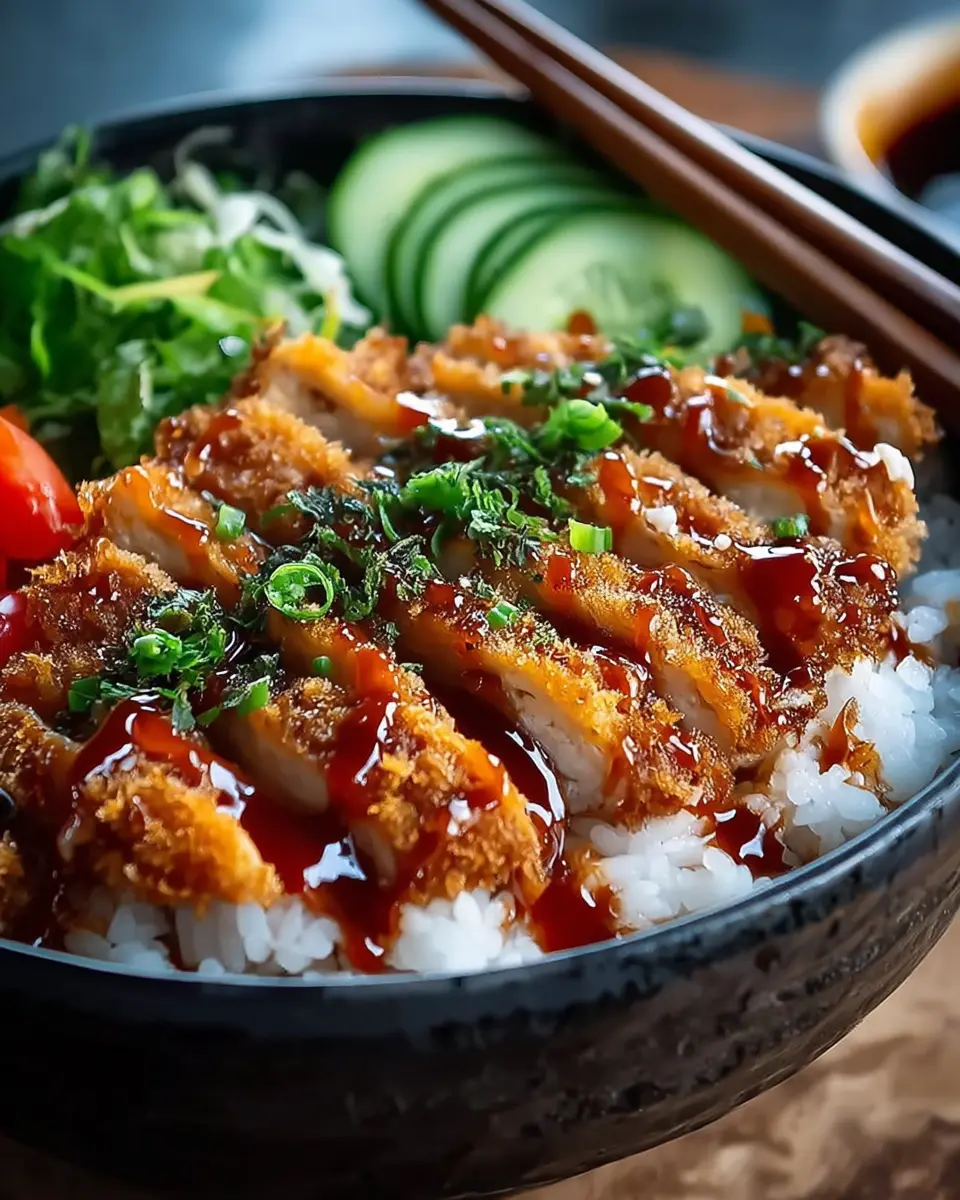
Ingredients for Japanese Katsu Bowls
Exploring Japanese Katsu Bowls is a delicious way to dive into Japanese cuisine! Here’s what you need to create these delightful dishes.
Essential Ingredients for the Katsu
For perfectly crispy katsu, you’ll need:
- 2 boneless skinless chicken breasts, pounded thin
- Salt and pepper to taste
- ½ cup all-purpose flour for that initial coating
- 2 eggs, beaten, to help the breadcrumbs stick
- 1 cup panko breadcrumbs for an irresistible crunch
- Neutral oil (like canola or vegetable) for frying
These components marry together to form a succulent and crispy centerpiece of your bowl.
Ingredients for the Sauces
A great katsu bowl isn’t complete without flavorful sauces:
-
For Tonkatsu Sauce:
-
3 tablespoon ketchup
-
1 tablespoon Worcestershire sauce
-
1 tablespoon soy sauce
-
1 tablespoon mirin or sugar
-
½ teaspoon Dijon mustard
-
For Japanese Mayo Sauce:
-
3 tablespoon Japanese mayo (Kewpie preferred)
-
1 teaspoon rice vinegar
-
½ teaspoon sugar
-
1 teaspoon chopped pickles or herbs (optional)
These sauces elevate the dish, adding layers of flavor to your katsu.
Optional Toppings and Accompaniments
Make your Japanese Katsu Bowls even more special with some tasty extras:
- Shredded cabbage for crunch
- Sesame seeds to add a nutty flavor
- Chopped green onion for freshness
These are just a few ideas to customize your bowl, making it truly your own. Get creative, and enjoy the cooking journey! For inspiration, check out this resource for more sauces.
Preparing Japanese Katsu Bowls
Creating Japanese katsu bowls at home is an exciting culinary adventure. The crunchy texture of the chicken cutlet paired with the rich flavors of tonkatsu sauce makes for a delightful meal that can impress anyone. Let’s walk through each step to ensure your katsu bowls come out crispy and flavorful!
Prepare the Chicken Cutlet
Start by preparing your chicken breasts. You'll want to pound them to about ½ inch thick—this helps them cook evenly and remain juicy. Give them a sprinkle of salt and pepper, and let them rest while you set up your breading station. This step might seem simple, but it sets the foundation for that mouthwatering crunch we all love in katsu.
Set Up the Breading Station
A well-organized breading station can make the process smooth and enjoyable. Gather three shallow dishes:
- Flour: For the first dredge, helping the egg adhere to the chicken.
- Beaten eggs: This will act as the binding agent.
- Panko breadcrumbs: The star of the show, providing that coveted crispy texture.
Dredge each cutlet first in flour, then dip it in the beaten eggs, and finally coat it in the panko breadcrumbs. Make sure to press the panko onto the cutlet to ensure a generous coating. You’ll have a crispy paradise waiting to be fried!
Fry the Chicken Cutlet to Perfection
Now that your chicken cutlets are breaded, it's time to fry them. Heat about an inch of neutral oil (canola or vegetable oil works best) in a deep pan to around 350°F. Carefully add your chicken cutlets, making sure not to overcrowd the pan, which can lower the oil temperature and lead to soggy breading. Fry each cutlet for 3-4 minutes on each side until they turn golden brown. Use a wire rack or paper towels to drain the excess oil, allowing the cutlets to stay crispy.
Whip Up the Tonkatsu Sauce and Mayo Sauce
While the cutlets cool slightly, whip up a quick tonkatsu sauce. Combining ketchup, Worcestershire sauce, soy sauce, mirin (or sugar), and Dijon mustard creates a tangy, sweet sauce that complements the savory chicken perfectly. For a creamy element, mix Japanese mayo with rice vinegar and a touch of sugar for sweetness. This sauce is optional for those looking to take their katsu bowls to the next level.
Assemble the Delicious Katsu Bowl
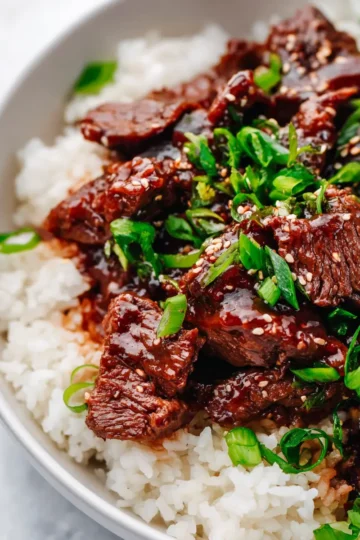
Now comes the fun part—assembling your Japanese katsu bowls! Start with a base of warm, cooked Japanese short-grain rice in the bowl. Slice your golden chicken cutlet into strips and layer them over the rice. Drizzle with both the tonkatsu and mayo sauces for incredible flavor. Feeling adventurous? Add a sprinkle of shredded cabbage, sesame seeds, or chopped green onions for a touch of freshness and crunch.
And there you have it—your delicious Japanese katsu bowls are ready to be enjoyed! They’re a perfect fit for a cozy dinner or a lunch that will surely impress your colleagues. Happy cooking!
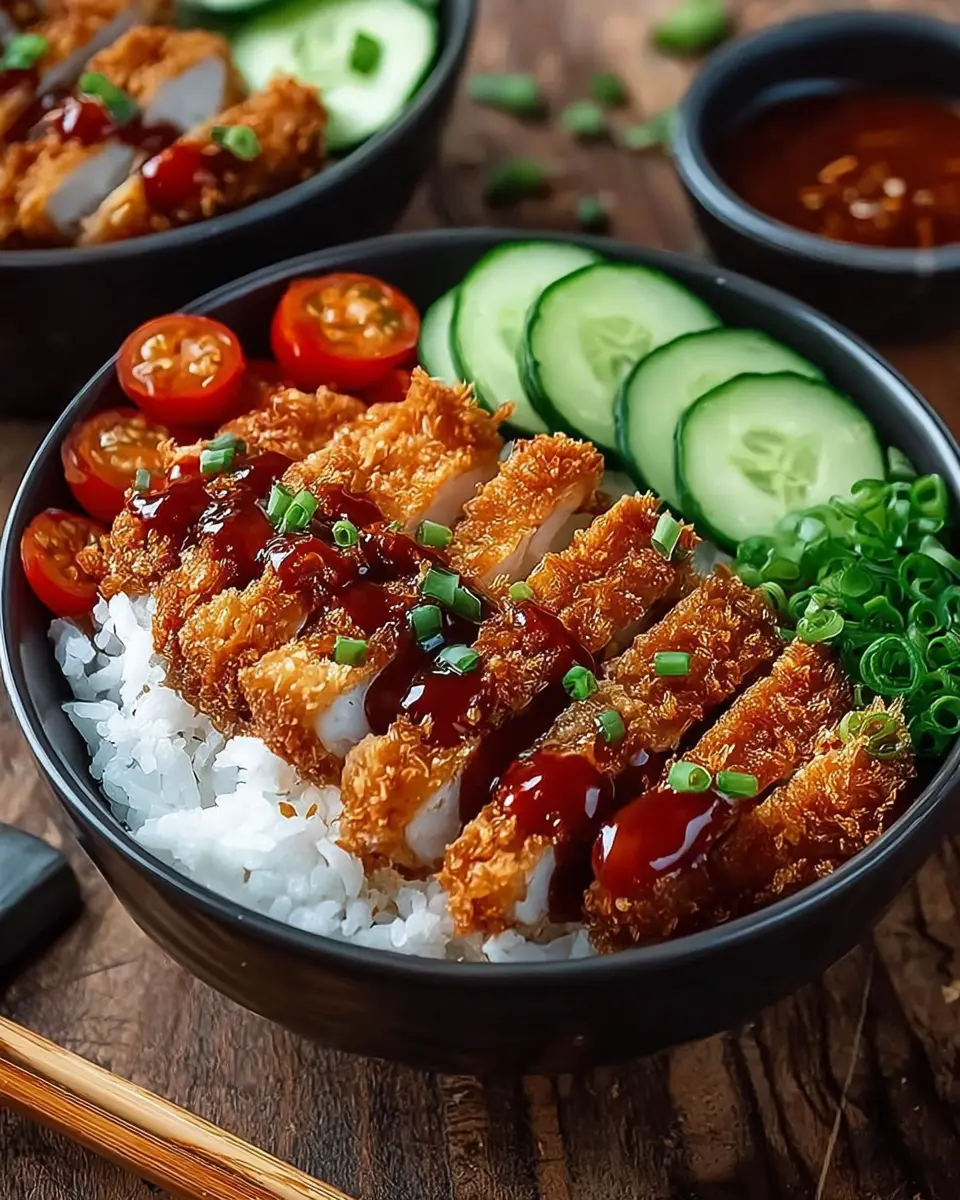
Variations on Japanese Katsu Bowls
Katsu Bowls with Beef instead of Chicken
If you're looking to mix things up, try substituting chicken with beef for a heartier take on Japanese katsu bowls. Tenderized beef cutlets deliver a deliciously rich flavor that pairs beautifully with the crispy coating. Just follow the same breading and frying methods, and enjoy a unique twist on this beloved dish!
Vegetarian or Vegan Katsu Versions
For a plant-based alternative, consider using eggplant, cauliflower, or tofu as your base. Slice your chosen ingredient, season, and bread as you would with chicken. Not only does this yield a crunchy, satisfying bite, but it also caters to vegetarian and vegan diets. Serve with your favorite sauce and fresh toppings, and you’ve got a delightful twist on Japanese katsu bowls that everyone will love.
Looking for more inspiration? Check out this guide on making the perfect katsu!
Cooking Notes and Tips for Japanese Katsu Bowls
Tips for Achieving the Perfect Crispy Coating
To obtain that extra-crispy coating on your Katsu, ensure that your oil is hot enough—around 350°F is ideal. Dredging the meat in flour before the egg and panko is essential for a solid bond. Don't rush the frying process; let each side cook for 3-4 minutes until golden brown. Consider using panko breadcrumbs from different brands to discover the crunchiness you prefer; they can vary significantly in texture.
Suggestions for Meal Prep and Storage
Japanese Katsu Bowls are perfect for meal prep! You can keep the cooked chicken and sauces separately in the fridge for up to three days. For the rice, cook it fresh to enjoy its best texture, but you can store it in an airtight container for quick reheating. When ready to eat, simply reheat the chicken in the oven for a crisp finish. Want a great tip? Make extra tonkatsu sauce to drizzle on other dishes like grilled veggies or sandwiches! For more ideas, check out our friends at Serious Eats.
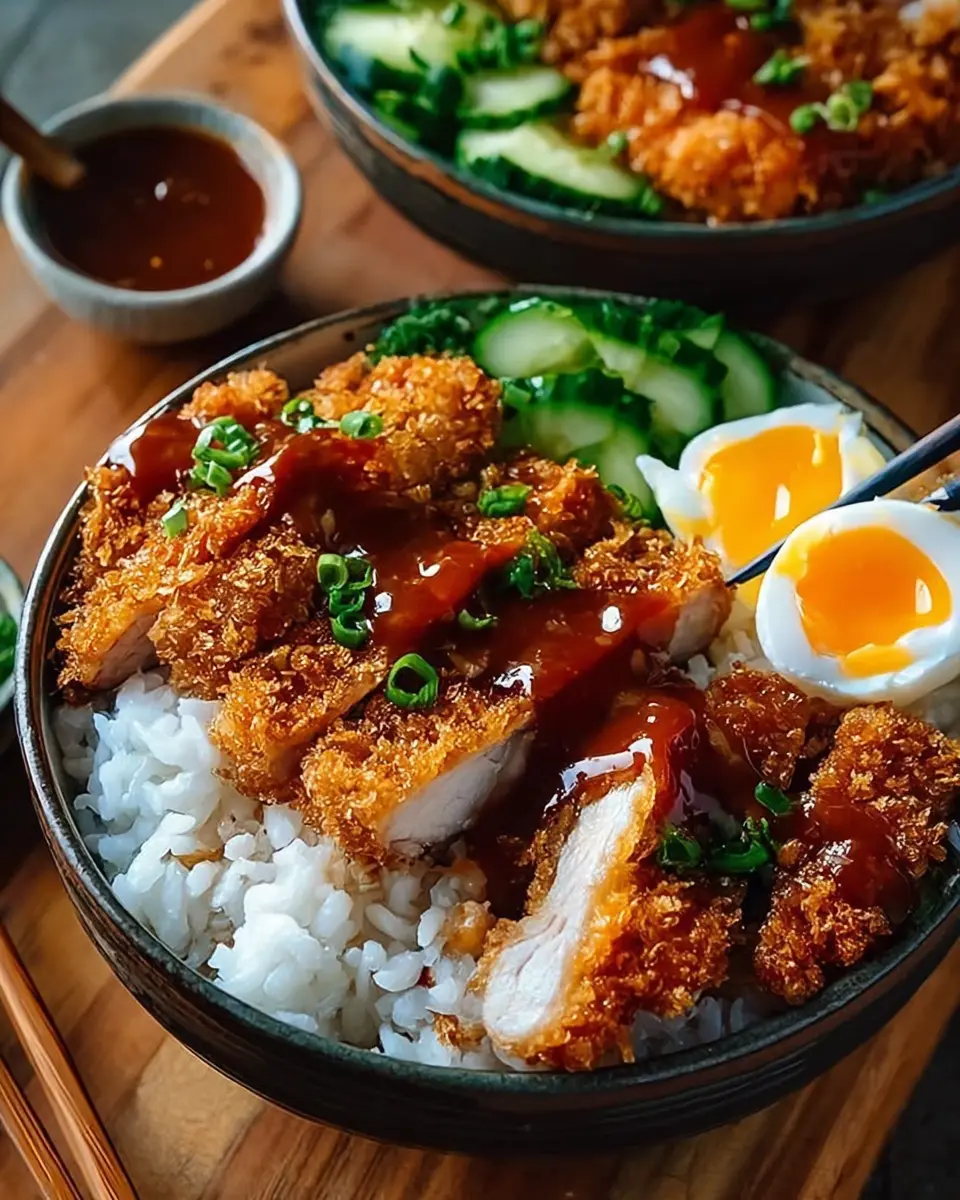
Serving Suggestions for Japanese Katsu Bowls
Pairing with Sides for a Complete Meal
To elevate your Japanese Katsu Bowls, consider adding flavorful sides that complement the crispy katsu. A simple shredded cabbage salad drizzled with sesame dressing not only adds a crunchy texture but also balances the richness of the dish. Other great options include steamed edamame or a light miso soup. Looking for something sweet? A slice of fresh fruit like melon or pineapple can cleanse your palate beautifully.
Plating Ideas to Make the Dish Visually Appealing
Presentation is key to making your meal memorable. Serve your Japanese Katsu Bowls in vibrant, rustic bowls to enhance the colors of the ingredients. Arrange the sliced katsu artistically over the rice, and drizzle both the tonkatsu and Japanese mayo sauces in a criss-cross pattern for visual flair. Garnish with green onions and a sprinkle of sesame seeds for that extra pop! To delve deeper into plating techniques, check out this guide on food presentation.
Incorporate these serving suggestions, and you’ll not only enjoy a delicious meal but also impress guests with your culinary creativity!
Time Breakdown for Japanese Katsu Bowls
Preparation Time
Getting organized is key! You'll need about 15 minutes to prepare your Japanese Katsu Bowls. This includes pounding the chicken breasts, setting up your breading station, and cooking the rice.
Cooking Time
When it comes to cooking, you’ll spend around 20 minutes frying the katsu to crispy perfection and whipping up the delightful sauces. Make sure your oil is hot enough for that irresistible crunch!
Total Time
In just 35 minutes, you can serve up a delicious bowl of Japanese Katsu. Perfect for a weeknight dinner or a cozy gathering with friends! Enjoy the journey of flavor as you create this mouthwatering dish.
For more tips on frying techniques, check out Serious Eats for some kitchen wisdom. Happy cooking!
Nutritional Facts for Japanese Katsu Bowls
When indulging in delicious Japanese Katsu Bowls, it's great to know what you're consuming. Here’s a quick breakdown:
Calories
A typical serving contains approximately 600-700 calories, offering a satisfying meal while balancing cravings.
Protein
Each bowl packs a significant protein punch, featuring around 30-40 grams. This makes it an excellent choice for muscle repair and recovery.
Carbohydrates
You can expect around 70-80 grams of carbohydrates, largely from the rice, providing a tasty energy boost. Enjoy your katsu bowl guilt-free!
For more insights on balanced meals, check out Healthline or Mayo Clinic.
FAQs about Japanese Katsu Bowls
How can I make my katsu extra crispy?
To achieve extra crispy katsu, ensure your oil is hot enough—around 350°F—before adding the cutlets. Use a good amount of panko breadcrumbs, as they are lighter and create the perfect crunch. Double-coating—dipping your meat in flour, then egg, and finally panko—can also boost crispiness. For an extra crunch factor, consider mixing in some crushed cornflakes or using a blend of breadcrumb types.
What can I substitute for panko breadcrumbs?
If you’re in a pinch and can't find panko breadcrumbs, you can use regular breadcrumbs or even crushed crackers like Saltines or golden oreos for a unique twist. You can also check out this helpful guide on breadcrumb substitutes here.
Can I make the sauces in advance?
Absolutely! Both the tonkatsu sauce and Japanese mayo sauce can be made a day in advance and stored in the fridge. Just give them a good stir before serving. Prepping sauces ahead of time not only saves you effort on serving day but also allows the flavors to meld beautifully!
Conclusion on Japanese Katsu Bowls
Japanese Katsu Bowls are a delicious way to elevate your home cooking. With their crunchy texture and savory tonkatsu sauce, they’ve earned a special place in many hearts. Whether for a weeknight dinner or a weekend treat, this crispy dish is sure to impress! Happy cooking!
Japanese Katsu Bowls with Tonkatsu Sauce: Crispy & Flavorful Recipe
Equipment
- Frying pan
- Mixing Bowls
- whisk
- meat mallet
- Rack or Paper Towel
Ingredients
Meat
- 2 pieces boneless skinless chicken breasts, pounded thin
- Salt and pepper to taste
Breading
- ½ cup all-purpose flour
- 2 pieces eggs, beaten
- 1 cup panko breadcrumbs
- Neutral oil for frying (canola or vegetable)
For the Bowl
- 2 cups cooked Japanese short-grain rice
- Optional: shredded cabbage, sesame seeds, green onion
Tonkatsu Sauce
- 3 tablespoon Ketchup
- 1 tablespoon Worcestershire sauce
- 1 tablespoon Soy sauce
- 1 tablespoon Mirin or sugar
- ½ teaspoon Dijon mustard
Japanese Mayo Sauce
- 3 tablespoon Japanese mayo (Kewpie preferred)
- 1 teaspoon Rice vinegar
- ½ teaspoon Sugar
- 1 teaspoon Chopped pickles or herbs (optional)
Instructions
Preparation
- Pound chicken or pork until ½ inch thick. Season with salt and pepper.
- Set up a station with flour, eggs, and panko. Dredge in flour, dip in egg, then coat with panko.
- Heat 1 inch of oil to 350°F. Fry cutlets 3–4 mins per side until golden. Drain on rack or paper towel.
- Whisk together all tonkatsu sauce ingredients. Separately, mix mayo, vinegar, and sugar.
- Scoop rice into bowls. Slice katsu and layer over rice. Drizzle both sauces. Top with optional garnishes.
Leave a Reply