
Introduction to Lemon Bars
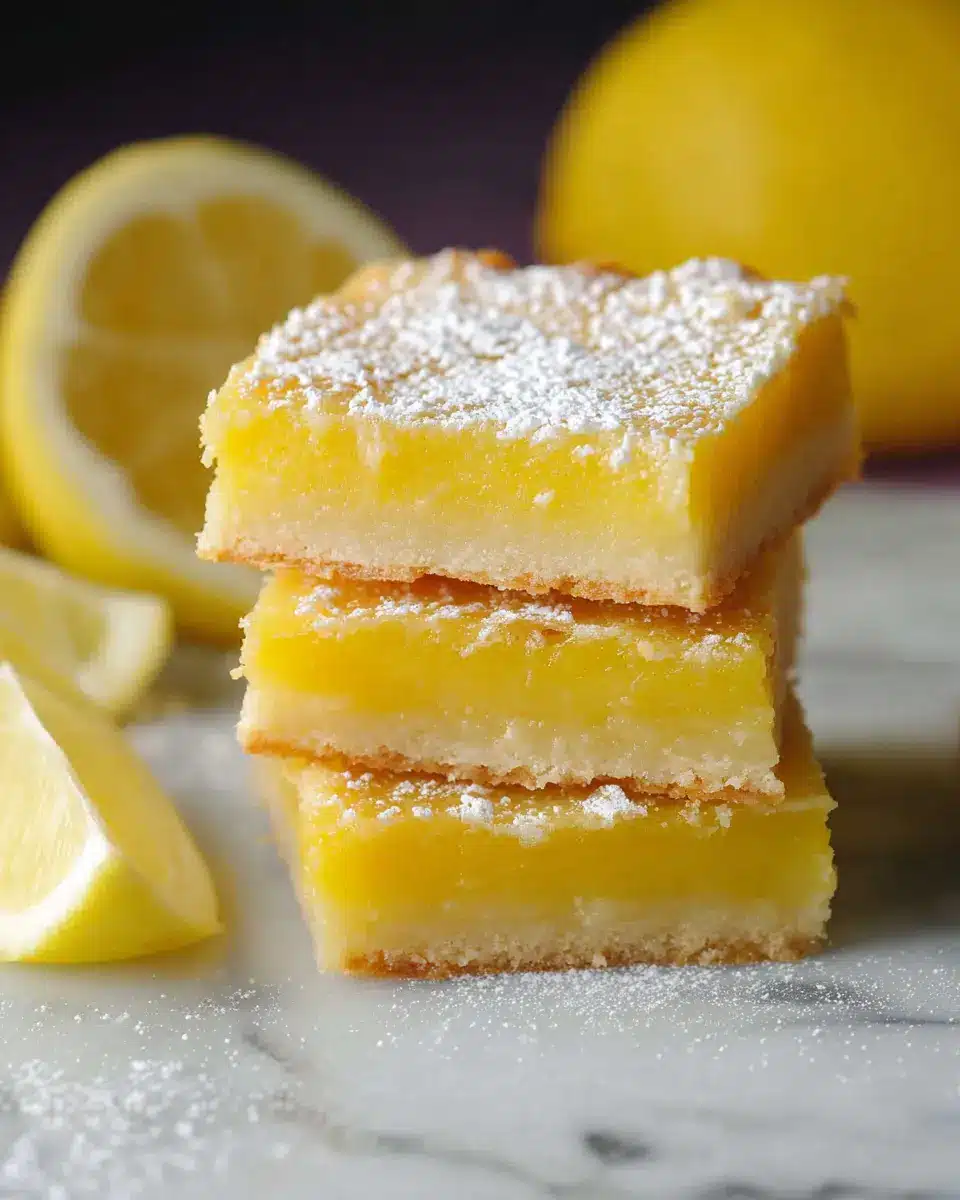
When it comes to must-try desserts, lemon bars should be at the top of your list. These delightful treats perfectly balance the tartness of fresh lemons with a buttery, crumbly crust, making them both refreshing and satisfying. Imagine biting into a square of sunshine, where each mouthful brings a burst of citrus goodness that dances on your taste buds.
But why are lemon bars so beloved? For starters, they are incredibly versatile. Whether you're hosting a summer barbecue or simply craving something sweet, lemon bars fit the bill. They also offer a great contrast to richer desserts, providing a zesty kick that leaves you feeling light and invigorated. According to the U.S. Department of Agriculture, lemons contain vitamin C and other antioxidants, giving you just another reason to indulge.
Creating your own lemon bars is easier than you might think! With just a handful of ingredients and some simple steps, you can whip up a batch that will impress friends and family alike. Plus, they can be made ahead of time and stored in the freezer, making them the perfect dessert to have on hand. Why wait? Let’s dive into this delightful recipe!

Ingredients for Lemon Bars
Creating the ultimate lemon bars starts with gathering the right ingredients. Here’s what you’ll need to whip up these delightful treats that are sure to impress at your next gathering.
Essential ingredients for the perfect lemon bars
- All-Purpose Flour: Using 3 cups in total, you'll need 2 ½ cups for the buttery crust and ½ cup for the tangy filling. This keeps everything nicely balanced.
- Powdered Sugar: ⅔ cup sweetens the crust beautifully. A sprinkle on top for serving adds that finishing touch!
- Unsalted Butter: 12 tablespoons of melted butter give the crust its rich flavor and light texture.
- Salt: Just ½ teaspoon elevates the taste, bringing out the natural sweetness and zestiness of the lemons.
- Lemon Zest and Juice: The stars of this recipe! You’ll need the zest of three lemons and 1 cup of fresh lemon juice for that vibrant, refreshing flavor. Fresh is key!
- Sugar and Eggs: 3 cups of sugar mixed with 8 large eggs create the luscious filling.
Gather these ingredients, and you'll be well on your way to crafting the perfect batch of lemon bars! For more tips on ingredient selection, check out Serious Eats for expert advice.
Step-by-Step Preparation of Lemon Bars
Making delicious lemon bars from scratch is not only rewarding but also a fantastic way to brighten your day (or someone else's!). Follow these simple steps, and you'll have a dessert that's tangy, sweet, and oh-so-satisfying.
Preheat the oven and prepare your pan
Start by preheating your oven to 350°F (175°C). While it’s heating up, grab a 9x13-inch baking dish and line it with parchment paper. This little step makes a big difference! Not only will it help prevent your lemon bars from sticking, but it also makes cleanup a breeze.
Make the lemon bar crust
In a mixing bowl (or you can use a food processor for ease), combine 2 ½ cups of all-purpose flour with ⅔ cup of powdered sugar and ½ teaspoon salt. Pour in 12 tablespoons of melted unsalted butter. Mix until everything is well combined. You want a crumbly, sandy texture. If you're feeling adventurous, consider adding a splash of vanilla extract for a flavor boost. Once ready, sprinkle this mixture into your lined pan and press it down firmly to create an even layer. This crust is the foundation of your lemon bars, so make sure it’s well packed!
Prepare the lemon filling
While your crust is baking, it’s time to whip up the lemon filling. In your food processor, combine 3 cups of granulated sugar with the zest of three lemons and pulse until the sugar becomes a light yellow color. Zesting the lemons not only adds vibrant flavor but also brings lovely fragrance to your bars. After that, whisk together the zest-sugar mixture with the remaining ½ cup of flour in a large bowl. Next, pour in 1 cup of fresh lemon juice (definitely avoid the bottled stuff!) and add 8 large eggs. Mix everything together until it’s beautifully combined.
Bake the crust
Once your crust is golden and baked (about 20 minutes), carefully take it out of the oven. You want to pour your luscious lemon filling directly onto the warm crust. This helps ensure your filling adheres nicely.
Bake the lemon bars
Now, it’s time to return your pan to the oven. Bake the lemon bars for about 25 minutes. It’s a good idea to turn the pan halfway through baking for even cooking. The filling should be set but slightly jiggly in the middle when it’s ready. Don’t fret if it looks a little wobbly; it will firm up as it cools.
Cool and chill before serving
After removing the bars from the oven, allow them to cool on a wire rack for about an hour. Once they’ve cooled, cover them and refrigerate for at least two hours (or overnight if you can resist!). Before cutting, dust with powdered sugar for that classic finishing touch. Using a sharp, damp knife will help you achieve clean cuts.
And voila! Your lemon bars are now ready to be sliced, served, and savored. Enjoy with a cup of tea or as a refreshing end to any meal!
Variations on Lemon Bars
Blueberry Lemon Bars
Bring a burst of color and flavor to your dessert table with blueberry lemon bars! Simply swirl fresh blueberries into the lemon filling before it bakes. The juicy berries add a delightful sweetness that complements the tartness of the lemon beautifully. This variation is not just visually stunning but also an excellent way to incorporate seasonal fruit. Try pairing your blueberry lemon bars with a scoop of vanilla ice cream for a refreshing treat!
Gluten-Free Lemon Bars
Craving lemon bars but need to keep your diet gluten-free? No problem! Swap out the all-purpose flour for a 1:1 gluten-free baking blend. The texture remains light and delicious, ensuring everyone can savor this delightful dessert. A sprinkle of almond flour in the crust can add nuttiness without compromising flavor. Perfect for picnics, gatherings, or a cozy night in, these gluten-free lemon bars prove that dietary restrictions don’t mean sacrificing taste!
For more tips on gluten-free baking, check out Gluten Free Living.
Cooking Tips and Notes for Lemon Bars
Ensuring the perfect texture
To achieve those deliciously creamy lemon bars, it's essential to handle the batter gently. Overmixing can result in a dense texture, so mix until just combined. Remember, they will firm up as they cool. If you're looking for a more indulgent experience, try using a food processor for that perfectly blended filling.
Importance of fresh ingredients
The star of your lemon bars is fresh lemon juice. A bottle might be convenient, but it simply can't match the vibrant flavor of freshly squeezed lemons. Invest in good-quality ingredients, and your desserts will shine! For tips on selecting the best lemons, check this out.
Serving Suggestions for Lemon Bars
Best Ways to Present Lemon Bars
Presenting lemon bars can elevate your dessert game and impress guests. Here are some delightful ways to showcase these bright treats:
-
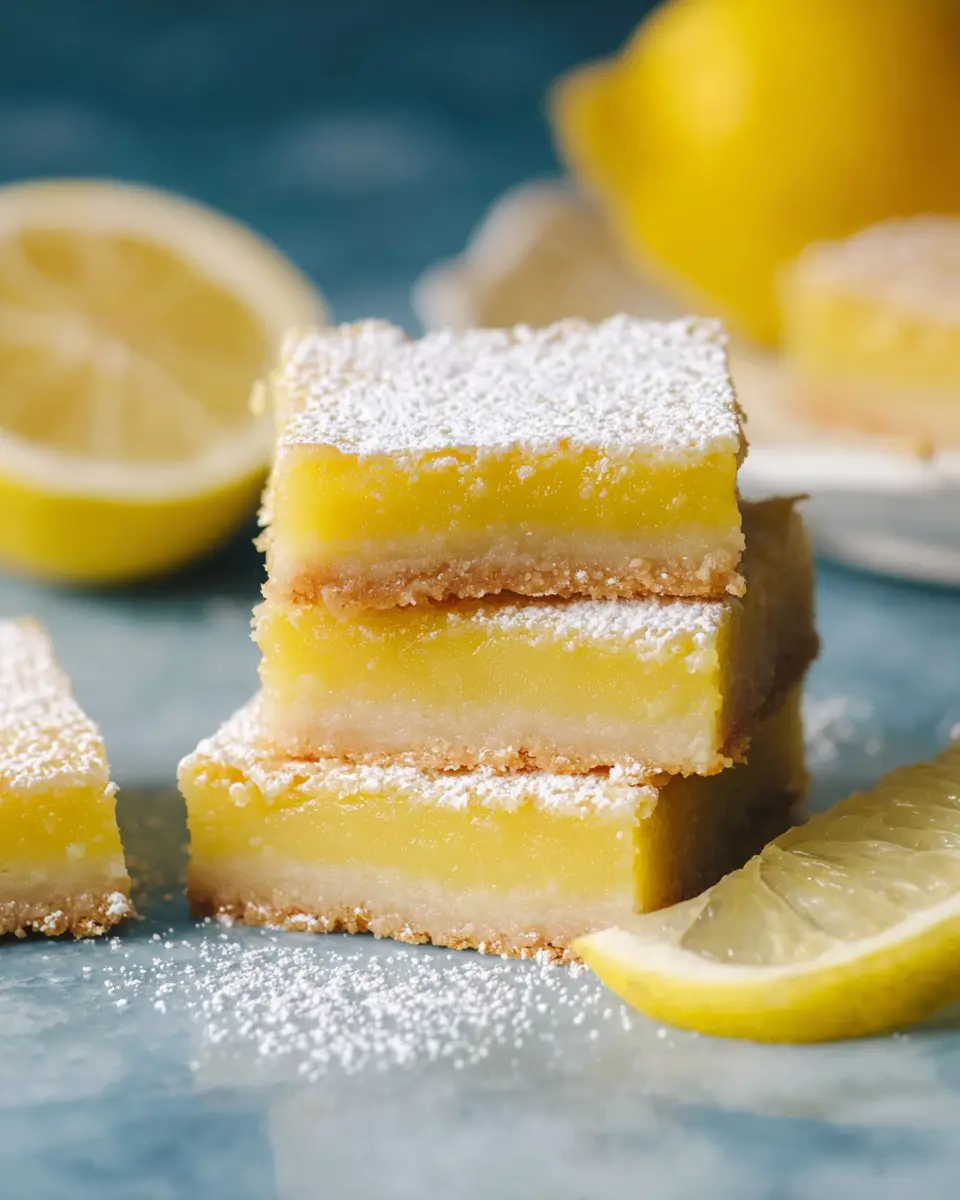
Simple Plating: Place bars on a clean white plate, dust with powdered sugar for a touch of elegance. This classic look never goes out of style.
-
Garnish with Fresh Citrus: Add a slice of lemon or a sprig of mint to the top for a pop of color and freshness.
-
Create Individual Servings: Cut bars into mini squares and serve them on decorative cupcake liners. This is perfect for gatherings or potlucks.
-
Pair with a Beverage: Offer refreshing iced tea or lemonade on the side to complement the zesty flavor of the lemon bars.
These tips ensure your dessert not only tastes amazing but looks stunning, too! For more serving ideas, you can check out [this guide](https://www.foodnetwork.com/how-to/packages/food-network essentials/summer-picnic-ideas) on creative food presentation.
Time Breakdown for Lemon Bars
Preparation time
You'll need about 20 minutes to prep your ingredients and mix your crust and filling. It’s a relatively quick task, so crank up your favorite playlist and enjoy the process!
Baking time
The baking phase will take around 55 minutes, with the crust needing 20 minutes before you add the zesty filling, which bakes for another 25 minutes.
Total time
From start to finish, you’re looking at about 4 hours and 15 minutes, including the important chill time of 3 hours. It’s totally worth the wait for these delicious lemon bars!
Feeling inspired? Check out more time-saving tips and delicious variations on lemon bars here.
Nutritional Facts for Lemon Bars
When diving into the delightful world of lemon bars, knowing the nutritional content can be eye-opening! Here, we break down some key stats to keep you informed while enjoying these zesty treats.
Calories
Each lemon bar packs about 385 calories, making it a delightful yet indulgent dessert option.
Sugar Content
With 46 grams of sugar per serving, these bars definitely satisfy that sweet tooth, but moderation is key!
Vitamin C Levels
These tangy treats are surprisingly rich in nutrients, offering 8 mg of Vitamin C per bar, which can contribute to your daily intake and keep your immune system strong.
For more on vitamin benefits, check out Healthline’s article on Vitamin C. Enjoy your lemon bars, but be mindful of the ingredients to balance enjoyment with nutrition!
FAQ about Lemon Bars
Can I make lemon bars in advance?
Absolutely! Lemon bars are a fantastic dessert to prepare ahead of time. In fact, they often taste even better the next day as the flavors meld. For best results, after slicing them, you can freeze the bars on a baking sheet. Once they're firm, wrap them individually and store in your freezer for up to three months. Just remember to dust with powdered sugar before serving for that perfect finishing touch.
How should I store leftover lemon bars?
To keep your lemon bars tasting fresh and delicious, store any leftovers in an airtight container in the refrigerator. They’ll stay good for about a week. If you’d like to keep them longer, freezing is the way to go! Just ensure they are well-wrapped to avoid freezer burn.
What can I do if my lemon bars are too runny?
If your lemon filling doesn’t set properly and is too runny, it may need more baking time. Typically, lemon bars should be slightly jiggly in the center but firm around the edges. If they still don’t firm up, consider adding a bit more flour to the filling in future batches, as this can help with thickening. You can also try lowering the oven temperature slightly and baking a bit longer if you find they are consistently runny.
For more tips on this, check out American Egg Board for guidance on egg-based custards!
Conclusion on Lemon Bars
Making lemon bars at home is a delightful experience that brings bright, sunny flavors right into your kitchen. You'll love how simple they are to prepare and the refreshing taste they provide. Plus, they make for a perfect dessert any time of year. Enjoy crafting your own batch!
Why You’ll Love Making Lemon Bars at Home
Homemade lemon bars are a fantastic treat for several reasons:
- Fresh Ingredients: Using fresh lemon juice ensures a vibrant and zesty flavor that store-bought options can’t match.
- Customizable: Adjust the sweetness or tartness based on your preferences. Make them sweeter, or let the natural tartness shine through!
- Perfect for Sharing: Whether it's a potluck, picnic, or just a treat for the family, everyone loves these bars.
Making lemon bars yourself is not just about the delicious results; it’s also a fun, nostalgic activity that can be enjoyed alongside friends or family, creating wonderful memories in the process. For more tips on perfecting your dessert game, check out this guide on baking basics. Happy baking!

Lemon Bars
Equipment
- 9"x13" pan
- Food processor
Ingredients
Crust
- 2.5 cups all-purpose flour 360g, divided
- ⅔ cups powdered sugar 66g, for the shortbread, plus more for dusting
- ½ teaspoon salt
- 12 tablespoon unsalted butter melted, 170g
Filling
- 3 tablespoon lemon zest zest of three lemons
- 3 cups sugar 600g
- 8 large eggs room temperature
- 1 cup lemon juice fresh, 240mL
Instructions
Preparation
- Heat oven to 350F and line a 9x13 baking dish with parchment paper.
- Whisk together 2 ½ cups of flour (300g) with the powdered sugar and salt, then pour in the melted butter and mix until combined.
- Sprinkle the dough into your lined pan and press down into a flat layer. Bake at 350F for about 20 minutes or until a light golden color.
- While the crust is baking add the sugar to a food processor and add the zest of three lemons. Pulse until the zest is fully incorporated and sugar is a light yellow color.
- Add the sugar and remaining half cup of flour to a large bowl and mix well.
- Pour in the lemon juice and add the eggs then mix very well until completely combined.
- Pour the filling onto the warm crust then transfer to oven and bake for about 25 minutes, turning halfway through the bake.
- Remove from oven and allow to cool for an hour before chilling in the refrigerator for two hours.
- Dust with powdered sugar and cut into bars using a clean, sharp, damp knife.




Leave a Reply