
Introduction to No-Bake Healthy Seed & Nut Energy Bars
In today’s fast-paced world, finding time to prepare nutritious snacks can feel like a challenge. Enter no-bake healthy seed and nut energy bars—the perfect solution for busy professionals who need a quick energy boost on the go. These energy bars are not only straightforward to make but also packed full of wholesome ingredients that will fuel your day.
Why are they ideal for the hectic lives we lead? First, they require no baking, which means less time in the kitchen and more time for whatever else you’ve got on your plate. Plus, they can be custom-tailored to reflect your taste preferences and nutritional needs. Want an extra crunch? Toss in some more nuts! Desire a hint of sweetness? A touch of honey will do the trick.
Furthermore, studies show that healthy snacking can boost productivity and focus, making them valuable for those long hours at the office or during meetings. Instead of reaching for that sugar-filled snack, opt for a homemade no-bake healthy seed and nut energy bar—you’ll be glad you did! For more insights on healthy snacking, check out Healthline.
So roll up your sleeves and let’s dive into the delicious world of energy bars that will keep you powered all day!
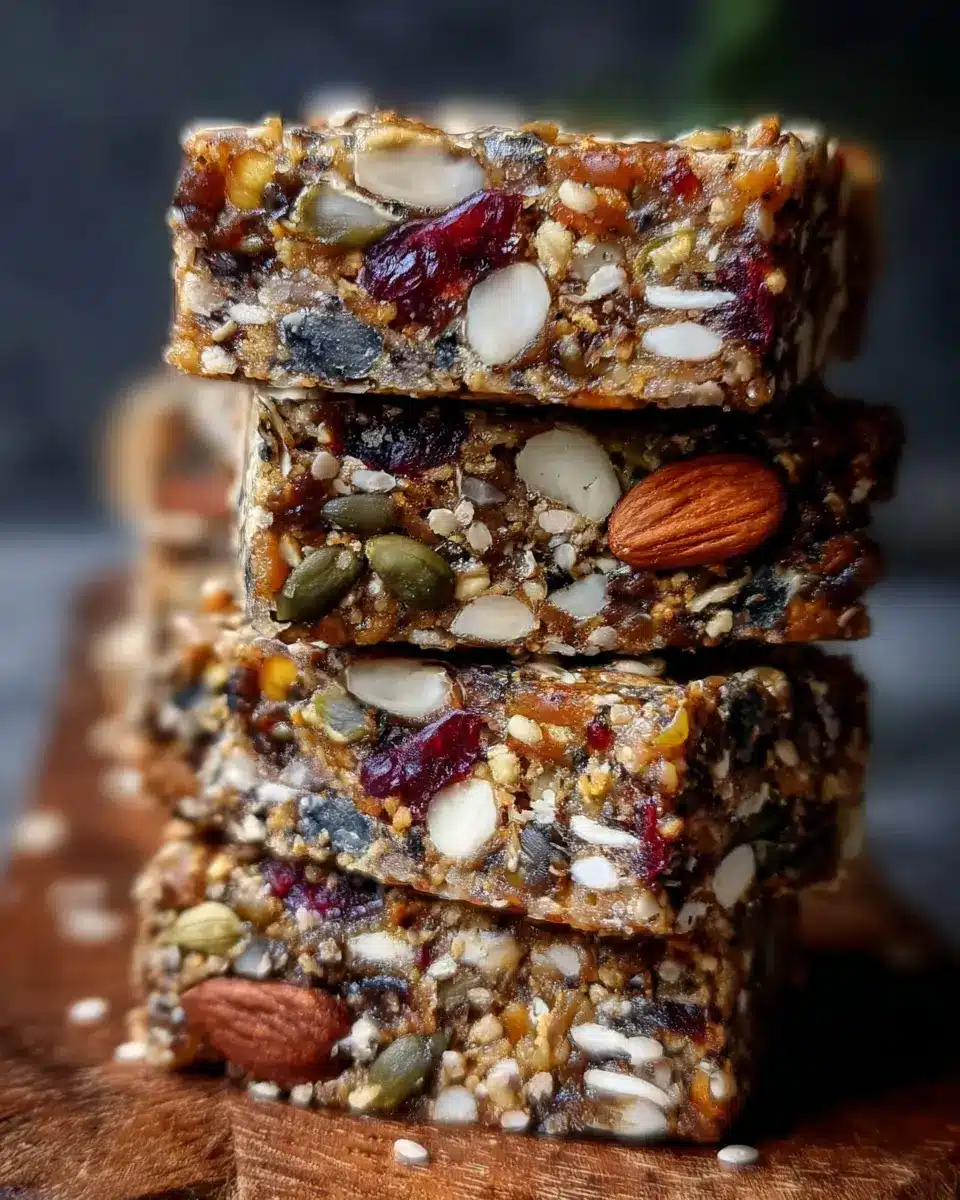
Ingredients for No-Bake Healthy Seed & Nut Energy Bars
Making your own no-bake healthy seed and nut energy bars is both fun and rewarding. Plus, you get to choose exactly what goes in! Here’s a rundown of the essential and optional ingredients that will help you whip up a batch of these delightful bars.
Essential ingredients for our energy bars
To create a solid foundation for your energy bars, gather the following essential ingredients:
- 1 ½ cups pitted dates (for natural sweetness and binding)
- ½ cup raw almonds, roughly chopped (for crunch and healthy fats)
- ½ cup raw walnuts, roughly chopped (rich in omega-3s)
- ½ cup raw pumpkin seeds (packed with protein)
- ½ cup raw sunflower seeds (great for added texture)
- ½ cup rolled oats (to keep you full longer)
- 2 tablespoon chia seeds (a wonderful source of fiber)
- 2 tablespoon flax seeds (for additional healthy fats)
- 2–3 tablespoon natural nut butter (almond or peanut for creaminess)
- 1 teaspoon vanilla extract (for flavor)
- Pinch of salt (optional for balancing flavors)
Optional ingredients for customization
Feeling adventurous? Here are some optional ingredients to personalize your no-bake healthy seed nut energy bars:
- Sweeteners: 1–2 tablespoon honey or maple syrup can be added for extra sweetness.
- Spices: A sprinkle of cinnamon or nutmeg can enhance the flavor.
- Mix-ins: Consider adding dark chocolate chips, dried fruit, or shredded coconut for even more variety.
Embrace creativity with these ingredients, and feel free to play around with flavors and textures! For more health tips on seeds and nuts, check out Nutritional Information on Nuts from Healthline to inspire your culinary journey.
Preparing No-Bake Healthy Seed & Nut Energy Bars
Creating your own no-bake healthy seed & nut energy bars is not only a fun experience, but also a fantastic way to ensure that you’re fueling your body with nutritious ingredients. Ready to get started? Let’s break it down step-by-step.
Gather and Measure Your Ingredients
Before diving into making these delicious bars, it’s time to gather and measure:
- Dry Ingredients: ½ cup raw almonds (roughly chopped), ½ cup raw walnuts (roughly chopped), ½ cup raw pumpkin seeds, ½ cup raw sunflower seeds, ½ cup rolled oats, 2 tablespoons chia seeds, and 2 tablespoons flax seeds.
- Wet Ingredients: 1 ½ cups packed pitted dates, 2-3 tablespoons natural nut butter (like almond or peanut), 1-2 tablespoons honey or maple syrup (for extra sweetness), and 1 teaspoon vanilla extract.
- Optional: A pinch of salt.
Having everything prepped and ready makes the process smooth and enjoyable. Remember, you can mix and match your seeds and nuts based on your preferences!
Make a Sticky Date Paste
To kick things off, place the pitted dates in your food processor. Pulse until they transform into a sticky paste. This paste is what will bind all your ingredients together. If you've never worked with dates before, you'll be amazed at how sweet and sticky they become!
Combine Nuts, Seeds, and Oats
Next up, toss in the chopped almonds, walnuts, pumpkin seeds, sunflower seeds, rolled oats, chia seeds, and flax seeds into the processor with your date paste. Pulse several times until the mixture is finely chopped and everything is well combined. You want to achieve a hearty texture—this is what gives your bars that satisfying crunch!
For further inspiration on healthy snacking, check out these resources on health benefits of nuts and the importance of seeds.
Mix in Nut Butter and Flavorings
Now, it’s time to elevate our bar game! Add in the nut butter, honey or maple syrup (if desired), vanilla extract, and a pinch of salt. Pulse again until everything is evenly mixed. The mixture should feel sticky, making it easy to press into the pan.
Press the Mixture Into the Pan
Transfer your mixture to the prepped 8×8 inch pan lined with parchment paper. With a spatula or your clean hands, press down firmly. Ensuring it's tightly packed will help your bars hold their shape once they’re set.
Refrigerate to Set
Lastly, pop your pan in the fridge for at least one hour (or freeze for 30 minutes) to let the bars firm up. Once they're ready, you can lift them out using the parchment and slice into 8–12 bars.
And there you have it! Delicious, no-bake healthy seed & nut energy bars that you can whip up in a short time. Perfect for a midday snack, post-workout refuel, or even a quick breakfast on the go. Make sure to share your creations and enjoy your nutritious bites!
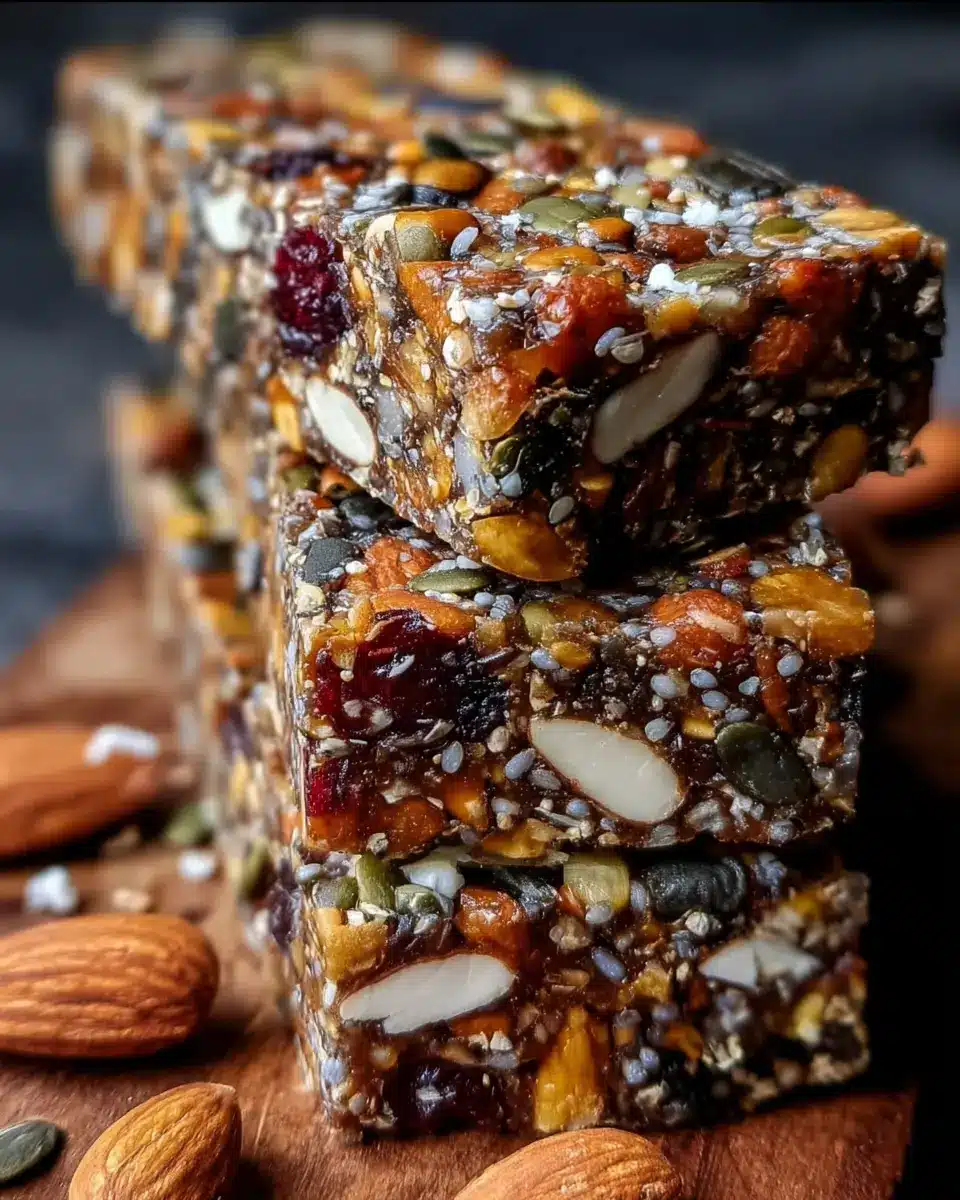
Variations on No-Bake Healthy Seed & Nut Energy Bars
Adding dried fruits for extra sweetness
Want to kick the sweetness up a notch in your no-bake healthy seed nut energy bars? Consider tossing in some dried fruits! Options like cranberries, apricots, or raisins can add not just sweetness but also a burst of chewy texture and flavor. Just chop them up to your desired size and blend them into your mixture. It’s a fun way to personalize your bars, plus it packs in extra vitamins and antioxidants.
Switching up the nut butter
Another great variation involves switching up the nut butter. Almond butter is a classic, but don’t hesitate to explore! Cashew butter adds a creamy consistency while peanut butter brings that beloved, nutty punch. Even sunflower seed butter is a fantastic alternative for a nut-free option. Experimenting with different spreads can create new flavors and textures so you don’t get bored.
For even more ideas on customizing your bars, check out this informative guide on energy bar recipes. Happy snacking!
Cooking Tips and Notes for No-Bake Healthy Seed & Nut Energy Bars
Ensuring a Firm Texture
To create the perfect texture in your no-bake healthy seed and nut energy bars, it's crucial to pack the mixture tightly in the pan. Use a spatula or your clean hands to press it down firmly, ensuring every ingredient sticks together well. If you find the mixture too crumbly, a little extra nut butter or a touch of honey can help improve cohesion. A well-processed date paste acts as your binding agent, so don’t skimp on that!
Storing Energy Bars Effectively
After slicing your energy bars, wrap them tightly in parchment paper or foil, and store them in an airtight container. They’ll keep in the refrigerator for up to two weeks, making them a convenient grab-and-go snack. For longer freshness, consider freezing them individually—just pull one out whenever you need a quick energy boost. Learn more about the benefits of proper food storage techniques here. Enjoy your nutritious treats anytime!
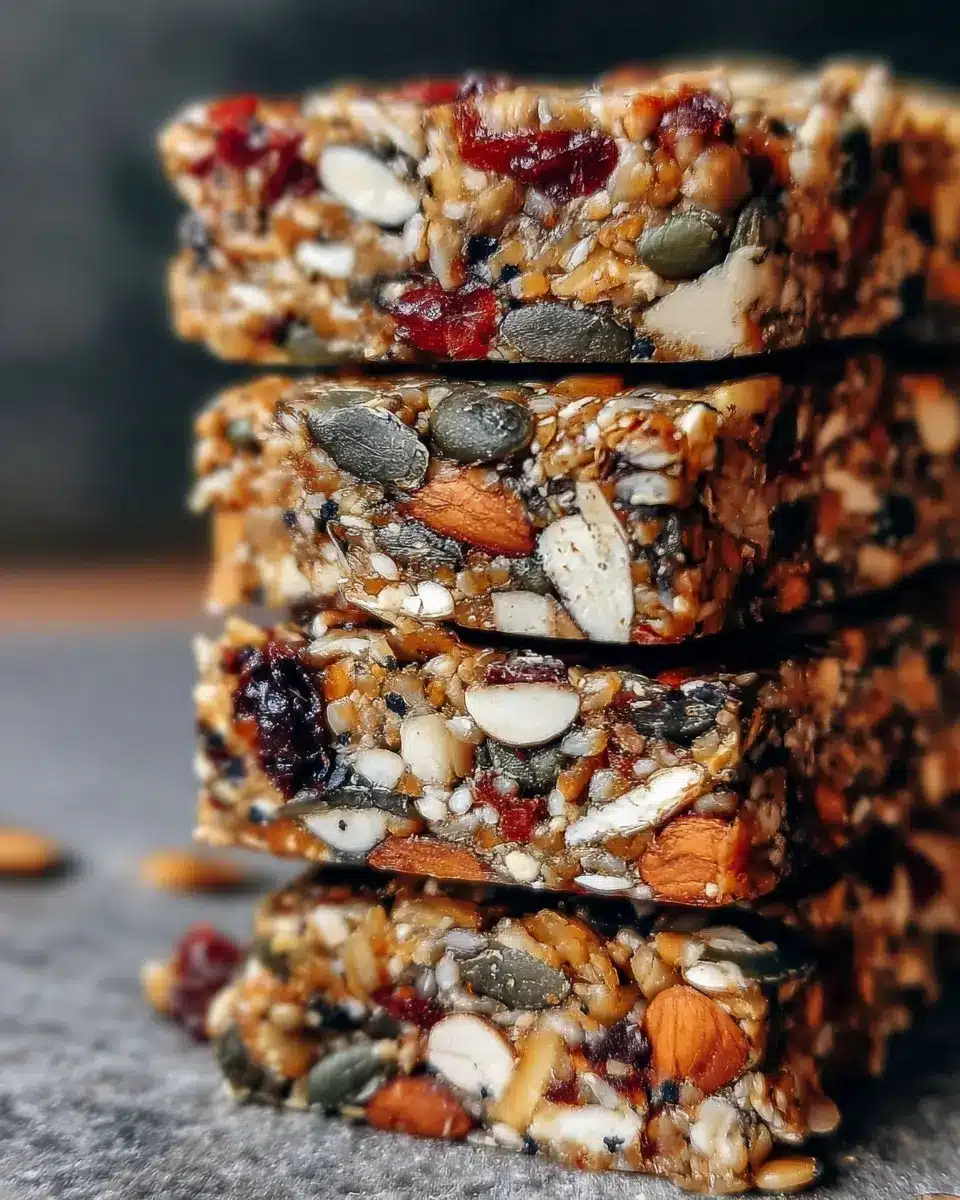
Serving suggestions for No-Bake Healthy Seed & Nut Energy Bars
Ideal pairings for a quick snack
Looking for a quick snack that packs a nutritious punch? Pair your no-bake healthy seed nut energy bars with Greek yogurt for a satisfying boost, or enjoy them with a banana for added sweetness. You can also try dipping them in dark chocolate for a delicious treat that feels indulgent yet healthy. A handful of berries on the side? Even better!
Creative ways to serve for gatherings
Elevate your gatherings with these versatile energy bars. Cut them into fun shapes using cookie cutters for a visually appealing platter. Serve them alongside a cheese board featuring soft cheeses and nuts for contrast. You can even layer them in dessert jars with some fresh fruit and yogurt for a simple yet impressive dessert. With so many options, your guests will be asking for the recipe!
For more ideas on healthy snacks, check out Healthline for inspiration!
Time Breakdown for No-Bake Healthy Seed & Nut Energy Bars
Preparation Time
Getting started on these delicious no-bake healthy seed and nut energy bars will take you about 15 minutes. Just enough time to gather your ingredients and mix them together. It's a simple process, and you might even want to sneak a taste of the mixture before chilling it!
Chill Time
Once you've pressed the mixture into your prepared pan, it’s time for a quick chill. Let them set in the refrigerator for at least 1 hour. If you’re in a hurry, you can pop them in the freezer for 30 minutes instead. This allows them to firm up nicely, making them easier to cut into bars.
Total Time
In just 1 hour and 15 minutes, you’ll have a healthy snack ready to go. Not only is this a quick recipe, but you’ll also have nutritious bars that are perfect for on-the-go munching or a quick afternoon pick-me-up. Enjoy the balance of flavors and the knowledge that you made something wholesome for yourself!
For tips on other quick meal preps, check out this helpful guide on efficient cooking times!
Nutritional Facts for No-Bake Healthy Seed & Nut Energy Bars
Calories Per Bar
Each of these delicious no-bake healthy seed & nut energy bars contains approximately 230 calories. This makes them a satisfying snack without overwhelming your daily caloric intake.
Key Nutritional Benefits
These bars aren’t just tasty; they’re packed with nutritional perks that align perfectly with a healthy lifestyle:
- Healthy Fats: The combination of nuts and seeds provides essential fatty acids that support heart health and brain function.
- Rich in Fiber: With oats and seeds included, each bar offers a good amount of fiber, which aids digestion and keeps you feeling fuller longer.
- Protein Power: The nuts contribute to a decent protein content, helping to repair muscles and maintain energy levels.
- Antioxidants: Ingredients like chia and flax seeds are rich in antioxidants, which combat oxidative stress and protect your cells.
- Natural Sweetness: The dates and optional honey or maple syrup provide a natural sweetness without the refined sugars typically found in many snacks.
For further insights on the role of nuts and seeds in your diet, you might find resources from the Harvard T.H. Chan School of Public Health helpful. Plus, understanding the benefits of fiber can enhance your overall health and wellness—check out the American Heart Association’s guide on fiber-rich foods.
Integrating these no-bake healthy seed & nut energy bars into your routine can be a game-changer. Not only do they fuel your day, but they also support your wellness goals in an indulgent yet nutritious way. So, why not give them a try? Your future self will thank you!
FAQs about No-Bake Healthy Seed & Nut Energy Bars
Can I substitute the seeds or nuts?
Absolutely! One of the joys of no-bake healthy seed nut energy bars is their versatility. If you have a nut allergy or simply prefer different flavors, feel free to mix in your favorite seeds or nuts. Think about replacing almonds with cashews or switching walnuts for pecans. Just ensure you're using similar amounts to maintain the texture and binding properties.
How long do these energy bars last?
Once prepared, these energy bars can be stored in the refrigerator for up to two weeks. For longer storage, consider freezing them. Wrapped tightly, they can last for about three months—perfect for meal prep! Just pull one out when you need a quick snack.
Are these energy bars suitable for different dietary needs?
Yes! No-bake healthy seed and nut energy bars are naturally vegan and gluten-free as long as you use gluten-free oats. They’re also customizable for paleo diets by omitting certain ingredients like the rolled oats. Additionally, by skipping the honey or maple syrup, you can make these bars suited for a lower-sugar lifestyle. For more tips on dietary substitutions, check out this helpful guide.
Conclusion on No-Bake Healthy Seed & Nut Energy Bars
In summary, these no-bake healthy seed nut energy bars are an easy and nutritious snack perfect for your busy lifestyle. Packed with wholesome ingredients, they're not just quick to make but also customizable to suit your taste. Enjoy them at home or on the go, and feel good about fueling your body!
No-Bake Healthy Seed & Nut Energy Bars
Equipment
- Food processor
- 8x8-inch pan
- spatula
Ingredients
Nuts and Seeds
- 1.5 cups pitted dates packed
- 0.5 cup raw almonds roughly chopped
- 0.5 cup raw walnuts roughly chopped
- 0.5 cup raw pumpkin seeds
- 0.5 cup raw sunflower seeds
- 0.5 cup rolled oats
- 2 tablespoon chia seeds
- 2 tablespoon flax seeds
Sweeteners and Flavorings
- 2-3 tablespoon natural nut butter almond or peanut
- 1-2 tablespoon honey or maple syrup optional for extra sweetness
- 1 teaspoon vanilla extract
- 1 pinch of salt optional
Instructions
Preparation
- Line an 8×8-inch (20×20 cm) pan with parchment paper and set aside.
- Place the dates in a food processor and pulse until they form a sticky paste.
- Add the almonds, walnuts, pumpkin seeds, sunflower seeds, rolled oats, chia seeds, and flax seeds to the processor. Pulse several times until the nuts and seeds are finely chopped and incorporated with the date paste.
- Add the nut butter, honey or maple syrup (if using), vanilla extract, and salt. Pulse again until the mixture is evenly combined and sticky.
- Transfer the mixture to the prepared pan and press down firmly with a spatula or clean hands so the mixture is tightly packed.
- Refrigerate for at least 1 hour (or freeze for 30 minutes) to set.
- Once firm, lift the bars out using the parchment paper and slice into 8–12 bars.



Leave a Reply