
Introduction to No-Bake Cheesecake
If you're a busy young professional, you know how challenging it can be to carve out time for baking. Enter the no-bake cheesecake—a delightful dessert that allows you to impress friends and family without spending hours in the kitchen. With just a handful of ingredients and minimal prep time, this recipe is perfect for those hectic weekdays or spontaneous weekend get-togethers.
Imagine being able to whip up a creamy, luscious cheesecake in just 20 minutes! No heating the oven, no worrying about it collapsing—just mix, chill, and indulge. Plus, the beauty of no-bake cheesecake lies in its versatility. You can customize it with different flavors, add fresh fruit toppings, or even incorporate your favorite chocolate or caramel sauces.
Did you know that no-bake desserts have become increasingly popular among millennials? According to a recent study by the Food Institute, ease and convenience are top priorities when it comes to cooking at home. With this no-bake cheesecake recipe, you'll satisfy your sweet tooth while saving time—making it a true game-changer for your busy lifestyle. Ready to dive into this simple yet delicious creation? Let’s get started!
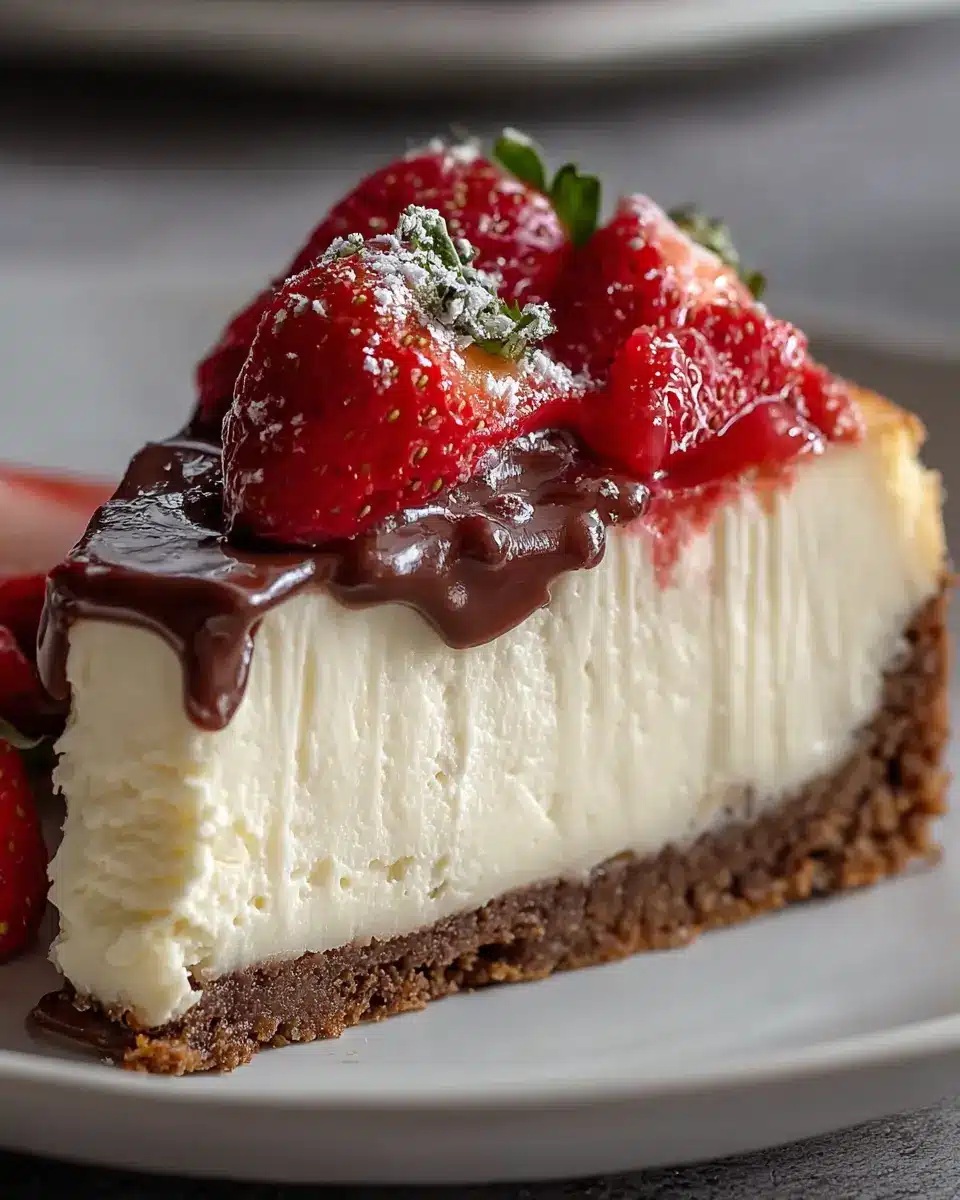
Ingredients for No-Bake Cheesecake
Creating a delicious no-bake cheesecake is a breeze when you have the right ingredients on hand. Here’s what you’ll need for that creamy, dreamy dessert that’s sure to impress at any gathering.
Essential ingredients for a creamy no-bake cheesecake
-
Digestive biscuits (200 g): These are perfect for creating a crunchy and flavorful crust. Crushed to fine crumbs, they set the foundation for your cheesecake.
-
Melted butter (100 g): This binds the biscuit crumbs together and adds richness to your crust.
-
Cream cheese (400 g): Make sure it's softened! This is your star ingredient, providing that luscious, creamy texture.
-
Heavy cream (200 ml): Use it cold to whip up and fold into the cream cheese mixture for lightness.
-
Powdered sugar (120 g): This sweetens the filling without altering its smooth texture.
-
Vanilla extract (1 teaspoon): For flavor, a touch of pure vanilla extract elevates your cheesecake.
-
Fresh berries or fruit topping (optional): These add a pop of color and freshness.
These straightforward ingredients come together beautifully, creating a no-bake cheesecake that is perfect for any occasion. Want more ideas? Check out this fantastic resource for inspiration!
Step-by-Step Preparation of No-Bake Cheesecake
No-bake cheesecake is one of those magical desserts that feels indulgent but is surprisingly simple to make. Whether you're looking to impress guests or simply treat yourself, follow these easy steps for a creamier-than-ever no-bake cheesecake.
Gather your ingredients
Before diving into the cheesecake-making process, it's essential to have all your ingredients ready. Here’s what you'll need:
- 200 g digestive biscuits, crushed
- 100 g melted butter
- 400 g cream cheese, softened
- 200 ml heavy cream, cold
- 120 g powdered sugar
- 1 teaspoon vanilla extract
- Fresh berries or fruit topping (optional)
Making sure you have everything will make the next steps smooth and enjoyable. This is an excellent way to avoid any last-minute grocery runs, especially when you're mid-recipe!
Prepare the crust
A great cheesecake starts with a solid crust. To make that buttery, crumbly base:
- Crush the digestive biscuits into fine crumbs either using a food processor or by sealing them in a bag and rolling over them with a pin.
- Combine these crumbs with your melted butter until they are evenly coated.
- Firmly press this mixture into the base of a springform pan to create a stable crust.
Chill this in the refrigerator for about 20–30 minutes to set. This step is crucial as it ensures a sturdy base for your luscious filling.
Make the cheesecake filling
Now, let’s whip up the creamy filling:
- In a large bowl, beat the cream cheese, powdered sugar, and vanilla extract until smooth and creamy.
- In another bowl, whip the cold heavy cream until soft peaks form.
Here’s a tip: Make sure your cream cheese is at room temperature to achieve that luxurious texture!
- Gently fold the whipped cream into your cream cheese mixture until everything is fully combined and airy. This blend is what makes your no-bake cheesecake so rich and delightful.
Combine and chill the cheesecake
Next up is assembly:
- Carefully spoon the cheesecake filling over the chilled crust and smooth the top with a spatula.
- The hardest part? Waiting! Refrigerate your cheesecake for at least 4 hours, or until it's fully set.
During this time, you could read more about the science behind cheesecake textures here, which might just deepen your appreciation for this classic dessert!
Add toppings and serve
Finally, it’s time to make it a showstopper:
- Top your chilled no-bake cheesecake with fresh berries or your choice of fruit. This not only enhances the flavor but adds a beautiful pop of color!
Serve it up and enjoy! Every slice of your homemade no-bake cheesecake is sure to impress friends and family alike. What's great is that it pairs beautifully with non-alcoholic beverages, so why not whip up a refreshing fruit slush for your guests?
Remember, the joy of this dessert lies not just in its taste but also in the love you put into it. Happy baking!
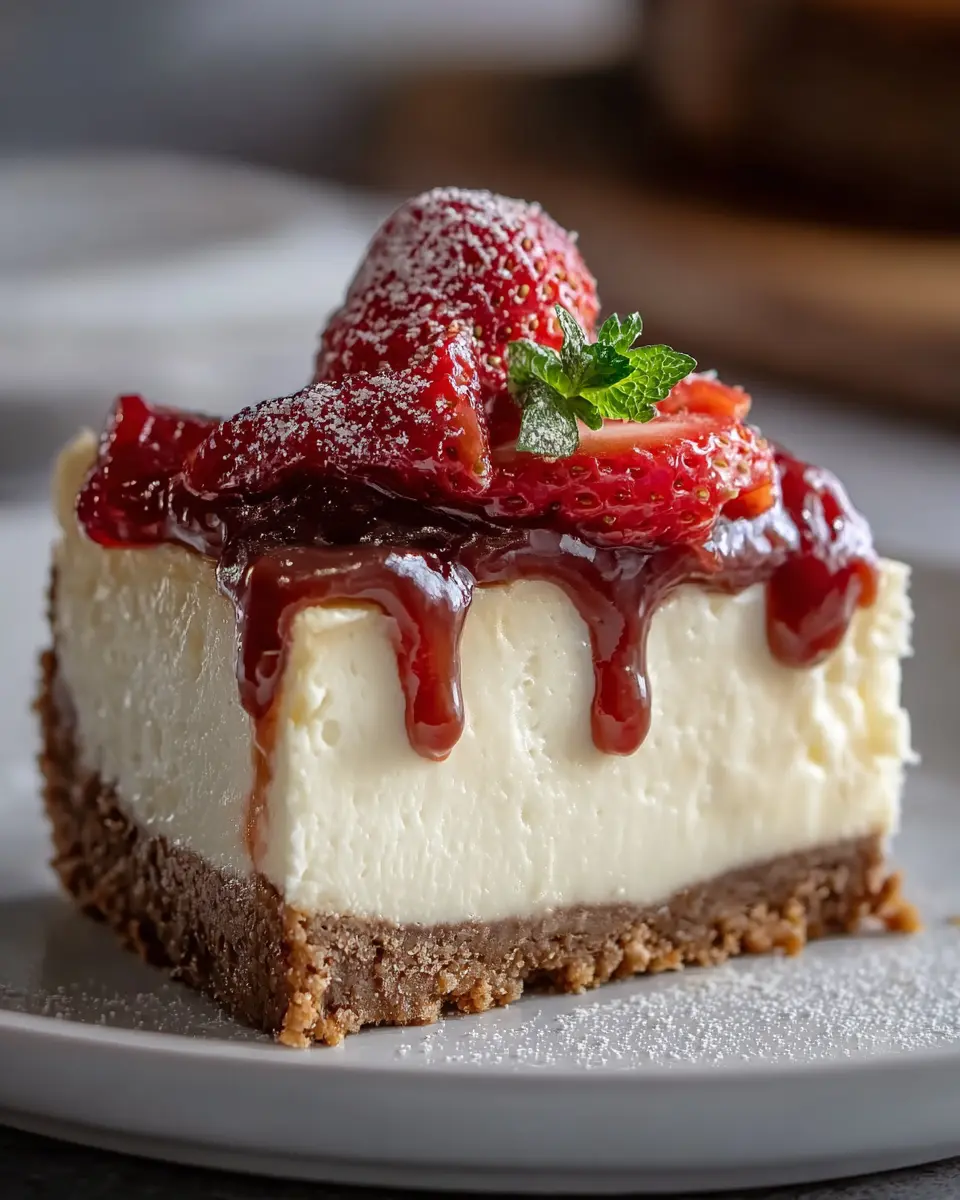
Variations of No-Bake Cheesecake
When it comes to no-bake cheesecake, the possibilities are endless! Let’s explore some delightful variations that will have your guests begging for seconds.
Chocolate No-Bake Cheesecake
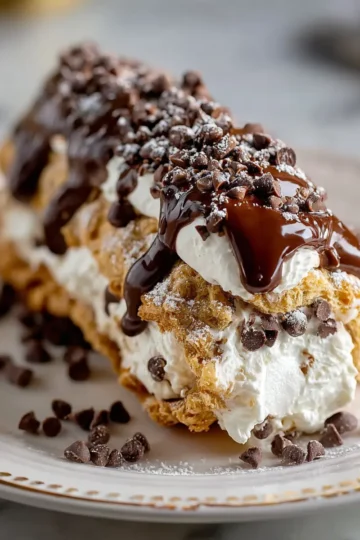
If you’re a chocolate lover, this variation will be your new favorite. Incorporate melted chocolate into the cream cheese mixture to create a rich and creamy cheesecake. For added texture, fold in mini chocolate chips before pouring the filling over the crust. A drizzle of chocolate ganache on top elevates it to dessert perfection.
Fruit-Flavored No-Bake Cheesecake
For a refreshing twist, you can easily adapt your no-bake cheesecake with fruity flavors. Consider blending fresh strawberries, blueberries, or even mango puree into the cream cheese mixture. This not only enhances the flavor but also adds a beautiful color. Top with additional fresh fruit or a fruit glaze for a stunning presentation.
For more flavor inspirations, check out foodnetwork.com and bonappetit.com. With these variations, your no-bake cheesecake will never be dull!
Cooking Tips and Notes for No-Bake Cheesecake
Tips for Achieving the Perfect Texture
Getting the texture of your no-bake cheesecake just right is crucial. Here are some key tips to keep in mind:
- Softened Cream Cheese: Ensure your cream cheese is at room temperature to avoid lumps. This will give you a smooth and creamy filling.
- Whip It Up: When beating the heavy cream, don't rush! Whip until soft peaks form; this adds lightness to your cheesecake.
- Gently Fold: When combining the whipped cream with the cream cheese mixture, use gentle folding motions. This preserves air and keeps the texture airy.
- Chill Time: Patience is key—allow it to chill for at least four hours to fully set. Rushing this step can lead to a gooey mess!
Experimenting with toppings like fresh berries can also enhance both flavor and presentation. For more dessert inspiration, check out Sally's Baking Addiction for variations!
Serving Suggestions for No-Bake Cheesecake
Pairing Ideas and Presentation Tips
Serving your no-bake cheesecake can elevate the entire experience. Start with some delightful accompaniments:
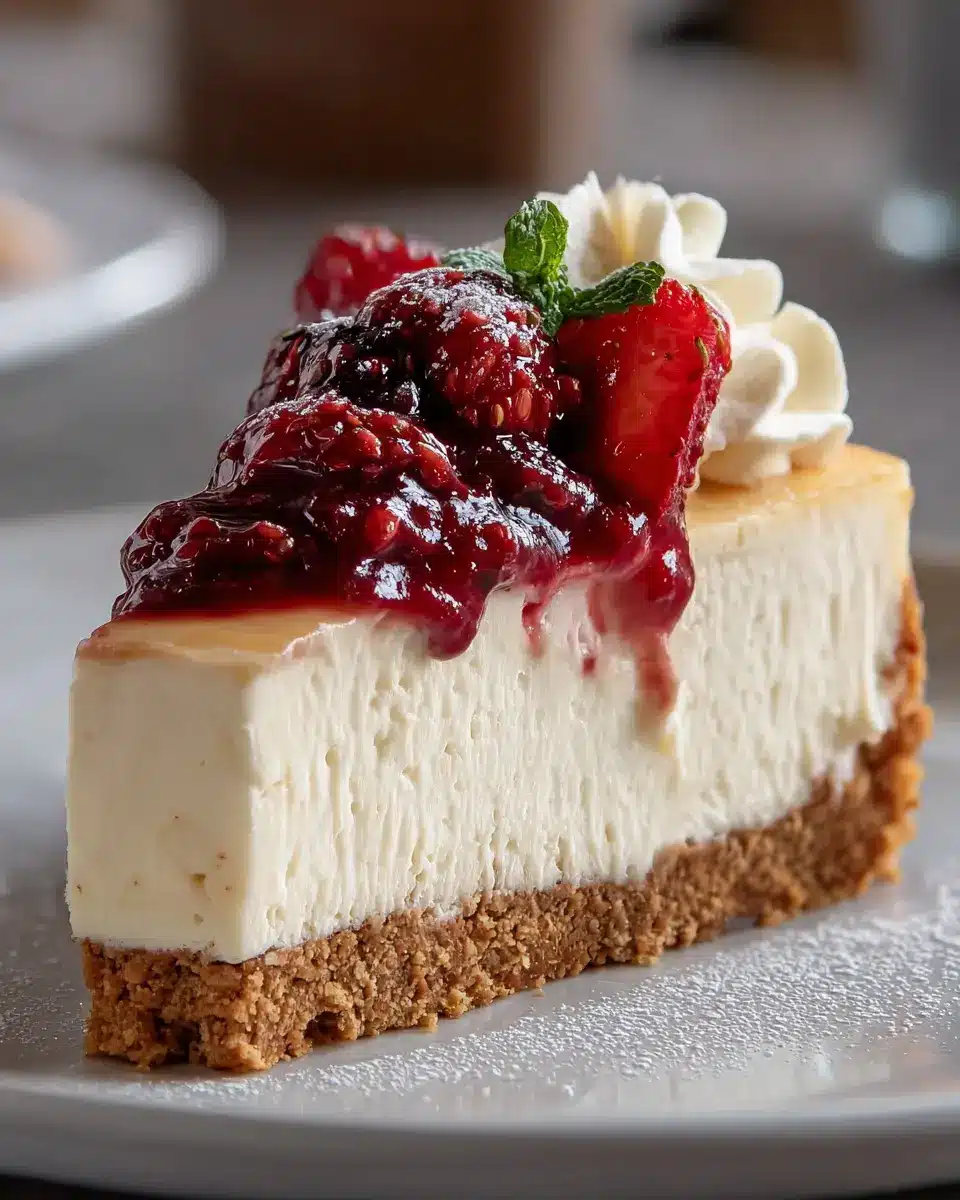
- Fruits: Fresh berries, like strawberries or blueberries, are not just beautiful but also add a burst of flavor. For a tropical twist, consider mango or kiwi slices.
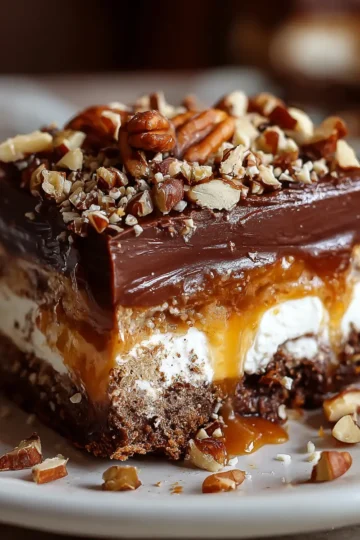
- Sauces: Drizzle a bit of chocolate or caramel sauce on top to add sweetness and visual appeal. A berry coulis can also complement the creaminess beautifully.
For presentation, serve slices on individual plates and add a sprig of mint for a pop of color. Placing the cheesecake on a colorful board can enhance the visual feast. Don't forget to enjoy it with a cup of coffee or herbal tea, which balances the richness perfectly! For more ideas, check out this guide on cheesecake toppings.
Time Breakdown for No-Bake Cheesecake
Preparation Time
Get started on your no-bake cheesecake by allowing yourself around 20 minutes to prepare. This includes crushing the biscuits and mixing the filling.
Chilling Time
Once you've assembled the cheesecake, it will need to chill in the refrigerator for a minimum of 4 hours. This allows the cheesecake to set properly and makes it easier to slice.
Total Time
In total, you’re looking at approximately 4 hours and 20 minutes, including prep and chilling. Perfect for a relaxing evening of dessert preparation!
If you're curious about more variations of no-bake desserts, check out this amazing resource for creative ideas!
Nutritional Facts for No-Bake Cheesecake
Calories per serving
A delectable slice of no-bake cheesecake contains approximately 320 calories, making it a delightful yet indulgent treat that won't completely derail your eating plan.
Key nutritional highlights
This rich dessert offers more than just sweetness:
- Protein: Cream cheese provides a good amount of protein, essential for muscle repair and overall health.
- Fats: The combination of cream cheese and heavy cream delivers healthy fats, which can help keep you full longer.
- Carbohydrates: The biscuit crust adds a satisfying crunch and contributes to your daily carb intake.
For more detailed nutritional information, you can explore databases like MyFitnessPal and NutritionData. This ensures you know exactly what you’re enjoying while still relishing every bite of your no-bake cheesecake. Happy baking (or rather, mixing)!
FAQs about No-Bake Cheesecake
How long can I store no-bake cheesecake in the fridge?
You can store your no-bake cheesecake in the fridge for about 3 to 5 days. Just make sure it’s covered tightly to keep out odors and maintain freshness. If you're planning to enjoy it later, consider slicing it into individual pieces, as it’s easier to take out just what you need!
Can I use low-fat cream cheese for this recipe?
Absolutely! Using low-fat cream cheese can be a great option if you're looking to make a lighter version of your no-bake cheesecake. Just keep in mind that the texture might be slightly less creamy compared to using full-fat cream cheese. For peak flavor, whip in a bit of extra sweetener if you feel it needs it.
What are some common mistakes to avoid when making no-bake cheesecake?
- Under-whipping the cream: Ensure you whip the cream to soft peaks; this is key for a fluffy texture.
- Not chilling long enough: Don’t rush the refrigeration process. Four hours is the minimum for proper setting.
- Weak crust: Make sure to press your crust firmly enough into the pan for it to hold together after slicing.
These tips can help ensure your no-bake cheesecake turns out perfectly every time! For more detailed tips, check out sources like The Kitchn for expert advice.
Conclusion on No-Bake Cheesecake
Final thoughts on why you’ll love making this dessert at home
Making a no-bake cheesecake at home is not only a rewarding experience, but it's also a fantastic way to impress your friends and family. With its creamy texture and decadent flavor, this dessert offers all the indulgence without the fuss of baking. You'll appreciate the ease of preparation and the ability to customize it with your favorite toppings. Plus, it’s perfect for warm days when you don’t want to heat up the kitchen! So grab your ingredients, and enjoy the simple pleasure of creating this delightful dessert.
For more inspiration, check out sites like The Kitchn for variations on the classic recipe or tips on pairing it with the perfect side dish!
No-Bake Cheesecake
Equipment
- Food processor
- Springform pan
- Mixing Bowls
- spatula
Ingredients
Crust
- 200 g digestive biscuits, crushed
- 100 g melted butter
Filling
- 400 g cream cheese, softened
- 200 ml heavy cream, cold
- 120 g powdered sugar
- 1 teaspoon vanilla extract
- Fresh berries or fruit topping optional
Instructions
Preparation
- Crush the digestive biscuits into fine crumbs using a food processor or by placing them in a sealed bag and rolling with a pin.
- Mix the biscuit crumbs with melted butter until evenly coated.
- Press the mixture firmly into the base of a springform pan to form the crust. Chill in the refrigerator for 20–30 minutes.
- In a large bowl, beat the cream cheese, powdered sugar, and vanilla extract until smooth and creamy.
- In a separate bowl, whip the cold heavy cream until soft peaks form.
- Gently fold the whipped cream into the cream cheese mixture until fully combined and airy.
- Spoon the filling over the chilled crust and smooth the top with a spatula.
- Refrigerate for at least 4 hours, or until fully set.
- Top with fresh berries or your favorite fruit before serving.
Leave a Reply