
Introduction to Homemade White Bread
Making homemade white bread is more than just a recipe; it’s a delightful experience that fills your kitchen with warmth and the irresistible aroma of freshly baked goodness. But why choose homemade white bread over store-bought options? Here are a few reasons to consider:
Why Choose Homemade White Bread Over Store-Bought?
-
Quality Ingredients: When you make your own white bread, you have control over each ingredient. You can choose organic flour or swap in healthier options, ensuring that what you consume is both nutritious and delicious.
-
Personalization: Ever craved a specific texture or flavor? With homemade bread, you can tweak your recipe to your liking. Maybe you want a sweeter loaf or a touch more salt—it's all up to you!
-
Freshness: Nothing beats the taste of freshly baked bread. Store-bought varieties often contain preservatives to extend shelf life, while homemade bread is best enjoyed warm from the oven.
-
Cost-Efficient: Baking your own bread can save you money compared to frequent trips to the store, especially if you use bulk ingredients. Plus, there’s truly nothing like the satisfaction of saying, "I made this!"
Baking your own white bread not only enhances your culinary skills, but it also adds a personal touch to your meals. If you're ready to dive into this rewarding endeavor, let’s move on to the recipe!
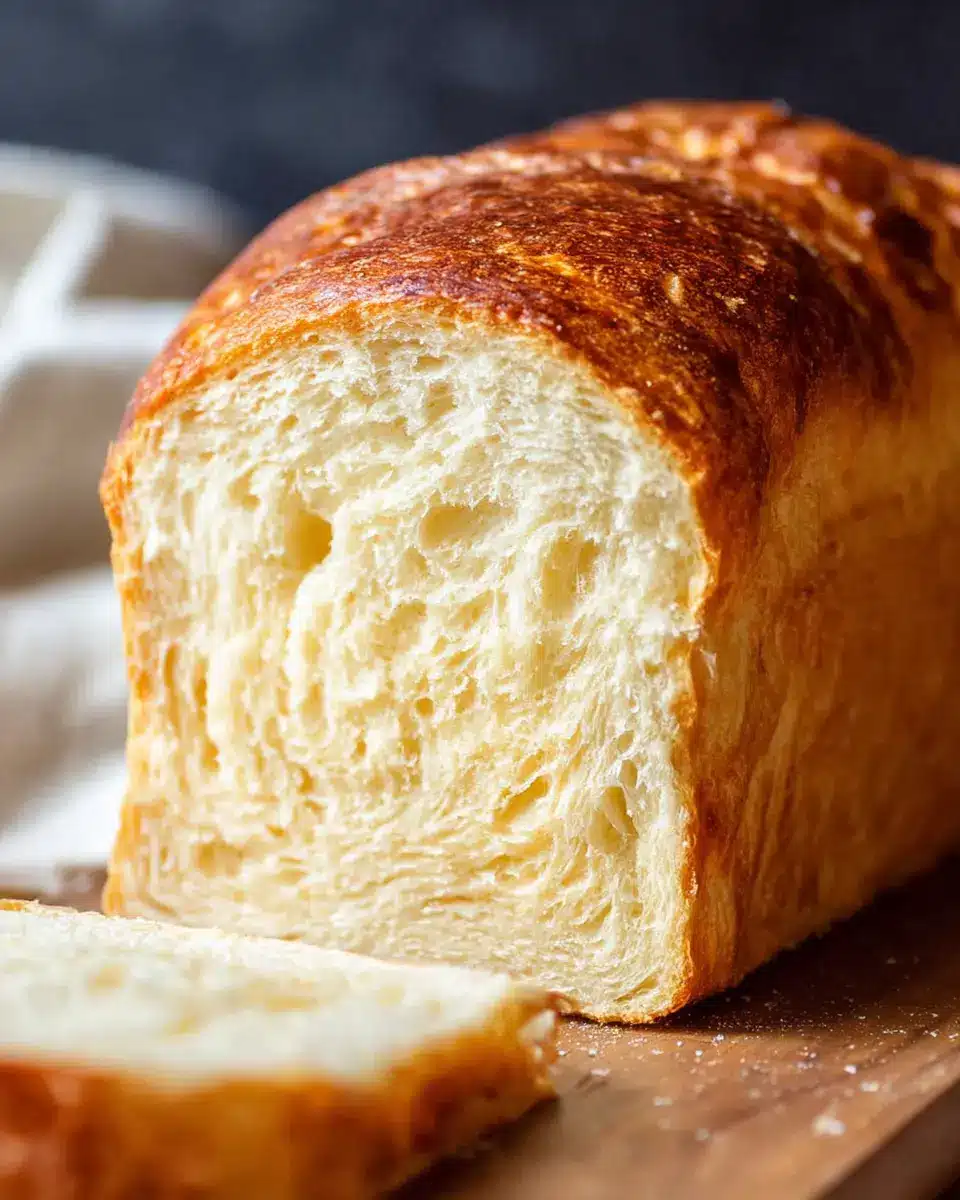
Ingredients for Homemade White Bread
Creating the perfect loaf of white bread is easy when you know what ingredients to use. Here’s a breakdown that will guide you to a delicious kitchen success!
Essential ingredients for the perfect loaf
For a fluffy, soft loaf, you'll need the following essentials:
- Lukewarm water: 1 ⅔ cups (this helps activate the yeast)
- Yeast: 2 ¼ teaspoons of instant or active dry yeast
- Sugar: 1 teaspoon (feeds the yeast for better rising)
- Honey: 1 tablespoon (for added sweetness and moisture)
- Salt: 1 teaspoon (enhances flavor)
- Butter: 1 ½ tablespoons unsalted, cubed at room temperature (adds richness)
- All-purpose flour: 4 ½ cups (this forms the structure of your bread)
Optional ingredients for added flavor
Once you’ve mastered the basics, consider adding a few flavors to elevate your white bread:
- Herbs or spices: A pinch of dried rosemary or garlic powder can add a fragrant twist.
- Seeds: A tablespoon of sesame or caraway seeds for a delightful crunch.
- Milk: Replace some water with milk for a richer texture.
Experimenting can turn your loaf into a unique masterpiece! If you're looking for more insights, check out King Arthur Baking for tips and variations.
Preparing Homemade White Bread
Making homemade white bread is not only a rewarding experience but also fills your kitchen with delightful aromas that evoke memories of family gatherings and warm breakfasts. Follow these steps to create your very own loaves that will wow friends and family alike!
Combine Yeast and Water
Start by dissolving your yeast. In a mixing bowl, blend 2 ¼ teaspoons of instant yeast or active dry yeast with 1 teaspoon of sugar and half of the 1 ⅔ cups of lukewarm water. Let the mixture sit for about 5-10 minutes until it becomes foamy. This step is crucial as it activates the yeast, ensuring your bread rises well. For more details on yeast activation, check out this helpful article from King Arthur Baking.
Mix in the Remaining Ingredients
Once your yeast is activated, add the remaining water, 1 tablespoon of honey, 1 teaspoon of salt, cubed butter, and almost all of the 4 ½ cups of all-purpose flour (leave a few tablespoons aside for later). Mix at low speed until everything comes together in a smooth, soft dough. Remember, you can always add a bit more flour if it's too sticky—just avoid overdoing it!
Knead the Dough to Perfection
Now it’s time to knead! If you’re using a stand mixer, let it run for about 6–9 minutes until the dough pulls away from the bowl and feels soft and smooth. If kneading by hand, be prepared for a bit of a workout—aim for about 10 minutes. Kneading is essential as it develops gluten, which gives your bread that lovely chew and structure.
Let the Dough Rise
Transfer the kneaded dough to a lightly greased bowl and cover it with plastic wrap. Place it in a warm, draft-free spot to rise for about 45 minutes, or until it has doubled in size. This is where the magic happens! The yeast works its wonders, making your loaves light and fluffy. If you're curious about how environmental factors affect rising time, this article will enlighten you.
Shape and Second Rise
Lightly flour your work surface and turn out the risen dough. Divide it into two portions and shape each into a rectangle. Roll each rectangle tightly, pinching the seams to seal. Place them in greased 8x4-inch loaf pans, seam side down. Cover again and let them rise for another 45 minutes—this second rise is critical for a perfect texture in your white bread.
Bake Your White Bread
Preheat your oven to 390°F and position the rack in the lower-middle section. Bake your loaves for 25–30 minutes, until they achieve a golden-brown color and reach an internal temp of 208 to 210 degrees. Once baked, transfer the loaves to a cooling rack and brush the tops with melted butter for that irresistible sheen. Allow your white bread to cool completely before slicing into it.
With some practice, you'll master this homemade white bread recipe. Are you ready to impress with your bread-making skills? Enjoy baking!
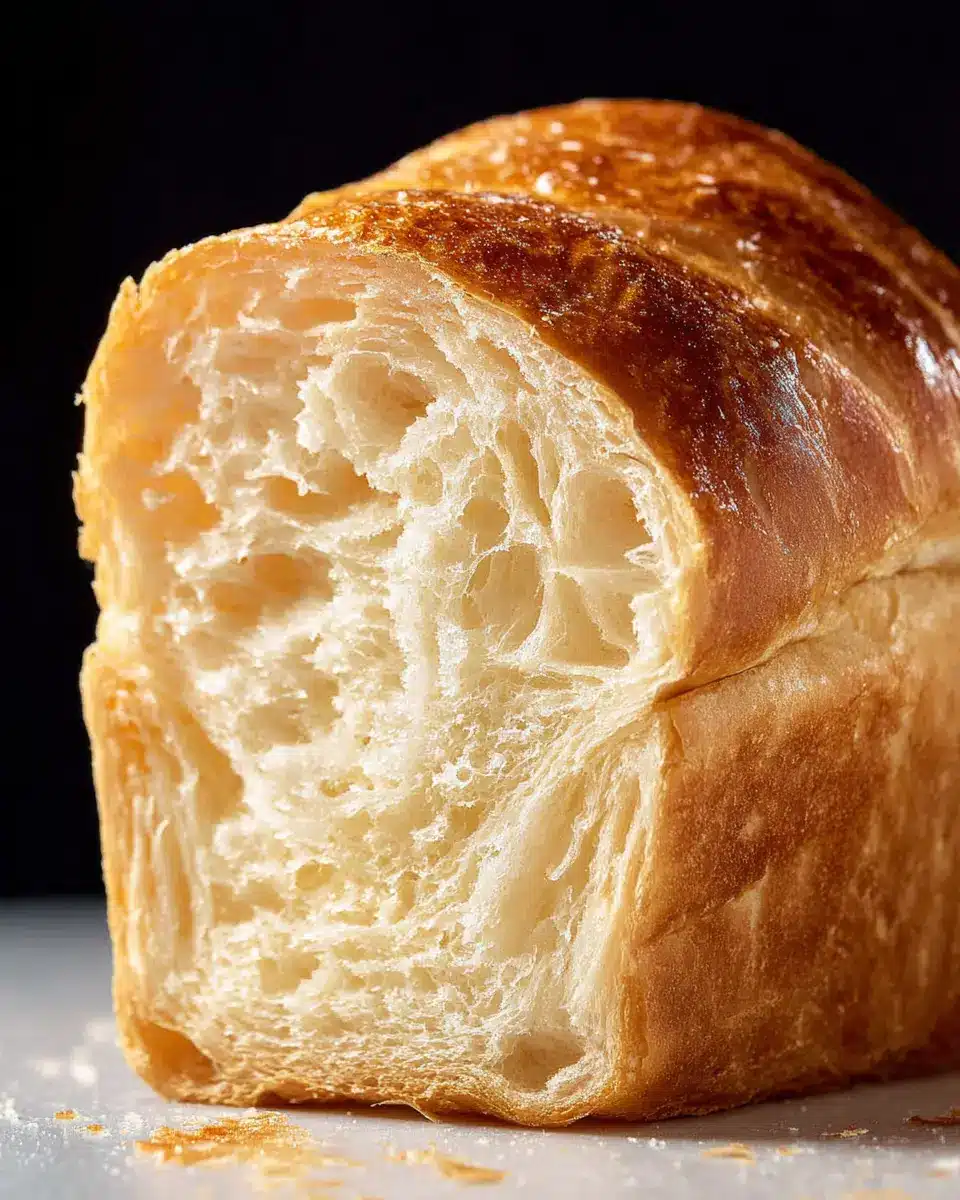
Variations on Homemade White Bread
Whole Wheat White Bread
For those who prefer a slightly healthier option, you can easily transform this classic white bread recipe into a whole wheat version. Simply replace half of the all-purpose flour with whole wheat flour for a nuttier flavor and added nutrients. Whole wheat flour tends to absorb more moisture, so you may need to adjust the liquid content slightly. This way, you still enjoy the light, fluffy texture while sneaking in some extra fiber. Interested in more whole wheat options? You can find a great whole wheat bread recipe here.
Flavored White Bread
Why stop at plain when you can get creative? Infuse your white bread with flavors by adding herbs, spices, or even roasted garlic. Try incorporating two tablespoons of dried herbs like rosemary or thyme into the dough for a fragrant twist. For garlic lovers, sautéed garlic mixed into the dough can elevate your bread to new gastronomic heights. These additions not only enhance the taste but make your kitchen smell divine too! Want to explore more flavor combinations? Check out this resource on flavored breads for inspiration.
Baking notes for Homemade White Bread
Tips for kneading without a stand mixer
Kneading dough by hand can be therapeutic! For the best results, use a well-floured surface and your palms to push the dough away from you, folding it back over itself. Keep kneading for about 10 minutes until the dough is smooth and elastic. A useful tip is to use a bench scraper to help gather and fold the dough with ease. Need a break? Give that dough a rest for about 5 minutes, and then get back to it. Your efforts will yield a delightful homemade white bread!
Using different types of flour
Experimenting with flour types can transform your homemade bread! While all-purpose flour is a go-to for many, using bread flour will give your white bread a chewier texture and incredible rise. If you're feeling adventurous, try a mix of all-purpose and whole-wheat flour for added nutrition—just remember to adjust the liquid slightly for the extra absorbency of whole wheat. For more baking tips, check out resources like King Arthur Baking or The Bread Lab to explore how different flours can elevate your loaf!
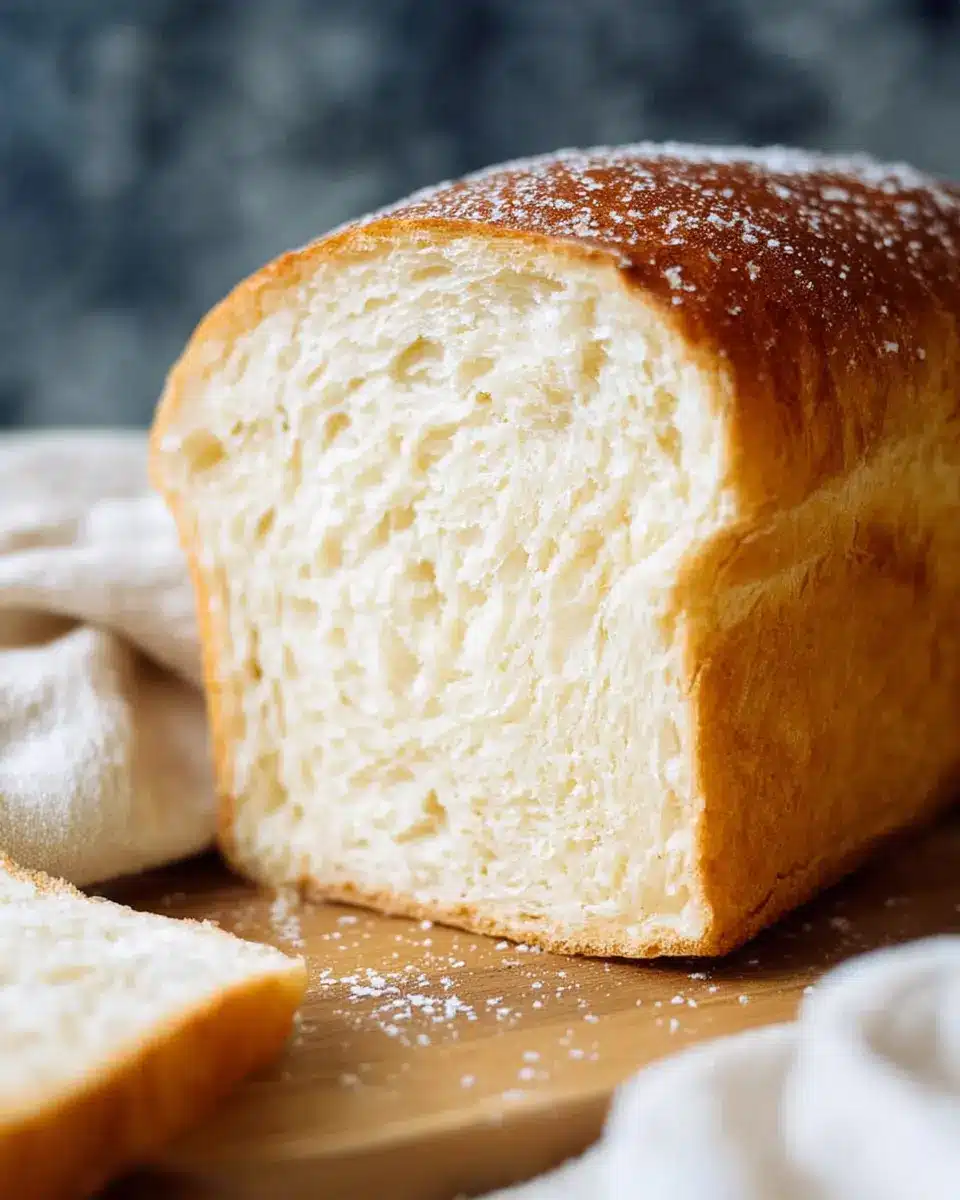
Serving suggestions for Homemade White Bread
Ideal pairings for fresh white bread
There's something incredibly comforting about enjoying a slice of homemade white bread. Perfectly toasted, it pairs beautifully with a dollop of creamy butter or a light spread of avocado for a nourishing breakfast. Feeling fancy? Add Turkey bacon and fresh tomatoes for a delightful sandwich. For lunch or dinner, try it alongside a warm bowl of soup or chili—the fluffy texture is perfect for soaking up every last drop!
Creative uses for leftover bread
Don't let any leftover white bread go to waste! Transform it into crunchy croutons by cubing and baking with olive oil and your favorite spices. Alternatively, whip up a bread pudding or even french toast for a delicious brunch option. You can also use the bread to make stuffed peppers or as a binder in meatballs—versatile and tasty! Check out this guide on how to creatively utilize leftover bread. With a bit of imagination, you can ensure every slice is savored!
Tips for Making Perfect Homemade White Bread
How to Achieve the Perfect Crust
To get that ideal golden-brown crust on your white bread, start by preheating your oven to a slightly higher temperature—around 390°F—before baking. A steam bath can also work wonders! Place a shallow pan filled with water on the bottom rack. This steam helps create a crust that's crispy on the outside while keeping the bread fluffy inside. Brush the tops of the loaves with melted butter right after baking for that glossy finish.
Storing Your Homemade Bread
Once your delicious white bread has cooled completely, it’s time to think about storing it. For the best flavor and freshness, wrap the loaves tightly in plastic wrap or store them in a bread box. If you’re looking to keep them longer, slice and freeze them. Just pop the slices in the toaster straight from the freezer for easy toasted goodness any time! For more bread storage tips, you might check out King Arthur Baking.
Time Details for Homemade White Bread
Understanding the timeline for making homemade white bread can help you plan your baking day perfectly! Here's a quick breakdown of the time you'll need:
Preparation Time
15 minutes is all it takes to gather your ingredients and prepare the dough.
Rising Time
Let the dough rise for about 1 hour and 30 minutes—this step is key for that light, fluffy texture.
Baking Time
Bake your beautifully risen loaves for around 30 minutes until they're golden brown and delicious.
Total Time
In just 2 hours and 15 minutes, you'll have fresh, homemade white bread ready to enjoy!
Ready to dive deeper? Check out this guide on bread-making techniques to enhance your skills!
Nutritional Information for Homemade White Bread
When crafting your own homemade white bread, it's helpful to know its nutritional benefits. Each slice offers approximately 123 calories, making it a delightful addition to any meal without overindulgence.
Calories per Slice
A single slice of this fluffy white bread contains about 123 calories. This makes it easy to enjoy a couple of slices while still being mindful of your overall caloric intake.
Carbohydrates and Protein Content
Each slice packs around 23g of carbohydrates along with 3g of protein. This carbohydrate content is beneficial for energy, especially for those with active lifestyles. That small protein boost helps to keep you feeling full longer.
Dietary Fiber
One of the highlights of this homemade white bread is its fiber content. Each slice has about 1.5g of dietary fiber, which supports digestive health and contributes to a balanced diet. For more tips on including fiber-rich foods in your meals, you can check out resources from Harvard Health.
Whether you're slathering it with butter or making sandwiches, this homemade white bread can easily fit into your nutritional goals!
FAQs about Homemade White Bread
Can I use active dry yeast instead of instant yeast?
Absolutely! You can substitute active dry yeast for instant yeast in your homemade white bread recipe. Just remember to let it sit in the lukewarm water for about 15 minutes until it foams before mixing it in with the other ingredients. This ensures that the yeast is activated correctly and ready to work its magic in your dough.
How can I tell if my bread is done?
To check if your white bread is fully baked, look for a golden-brown crust. A more reliable method is to use a thermometer; the internal temperature should reach between 208°F and 210°F. If you tap the bottom of the loaf and it sounds hollow, that’s another sure sign it's done!
What's the best way to store homemade bread?
To keep your delicious white bread fresher longer, allow it to cool completely before storage. Then, wrap it tightly in plastic wrap or aluminum foil and store it at room temperature for up to three days. For longer storage, consider freezing slices or the whole loaf in an airtight bag – just thaw at room temperature when you’re ready to enjoy! For more tips on bread storage, check out this helpful article.
Conclusion on Homemade White Bread
In conclusion, baking your own white bread at home is not only rewarding but also a delightful experience. With this easy recipe, you’ll enjoy the aroma of freshly baked bread wafting through your kitchen. Whether paired with breakfast or as the perfect sandwich base, your homemade loaves will impress everyone. Don’t forget to experiment with variations and share your creations! Happy baking!
White Bread
Equipment
- Loaf Pan 8x4-inches
Ingredients
- 1 ⅔ cups lukewarm water divided
- 2 ¼ teaspoons instant yeast or active dry yeast
- 1 teaspoon sugar
- 1 tablespoon honey (or more sugar)
- 1 teaspoon salt
- 1 ½ tablespoons unsalted butter cubed at room temperature
- 4 ½ cups all-purpose flour divided
- 1 ½ tablespoons butter melted for brushing
Instructions
- In the bowl of a stand mixer fitted with the dough hook combine the instant yeast, sugar, and half of the lukewarm water. Let sit for 5-10 minutes until foamy (if using active dry yeast, let sit for 15 minutes).
- Add the remaining water, honey, salt, cubed butter, and 4 cups of flour to the bowl. Knead at low speed until the dough comes together and is soft but not sticky. Add a few more tablespoons of the remaining flour if necessary. Continue to knead for 6–9 minutes until the dough pulls away from the sides of the bowl and is soft and smooth.
- Transfer the dough to a lightly greased bowl and make sure that it is completely coated. Cover with plastic wrap and let rise in a warm and draft-free place for about 45 minutes, or until doubled in size.
- Lightly flour your work surface and turn out the dough onto it. Divide it into two equally sized portions. Use your fingers to gently pat each half into a 8x12 inch rectangle while pressing it all over to remove any air pockets. Starting at the short end, roll up the rectangle into a tight roll and pinch the seams to seal. Tuck the ends of the roll slightly under the roll to create some tension on the surface and place each loaf into a greased 8x4 inch loaf pan tucked ends and seam side down. Cover with a greased piece of plastic wrap and let rise for about 45 minutes in a warm and draft-free place until doubled in size.
- Preheat oven to 390 degrees F and adjust oven rack to lower-middle position.
- Bake loaves for 25–30 minutes until golden brown (and the loaf registers 208 to 210 degrees).
- Invert bread onto a cooling rack. Reinvert loaves and brush the tops and sides with melted butter. Let cool completely before slicing.




Leave a Reply