
Introduction to Old-Fashioned Apple Crisp
A warm hug in a dessert: why apple crisp is timeless
Imagine walking into a cozy kitchen, filled with the delightful aroma of baked apples and spices. That’s the magic of old-fashioned apple crisp. It's a classic dessert that evokes warm memories and a sense of nostalgia, making it a staple in many homes. Whether you grew up with a family recipe or stumbled upon the dish at a potluck, apple crisp has a way of bringing people together.
What makes this dessert stand out is its perfect balance of textures and flavors. The tender, cinnamon-spiced apples form a warm, juicy base, while the crisp topping—made from oats, flour, and butter—adds a satisfying crunch. It’s the kind of dessert that feels like a warm hug, especially when served with a scoop of vanilla ice cream or a dollop of whipped cream.
Did you know that apple recipes date back to ancient times? According to The Old Farmer's Almanac, apples have been cultivated for thousands of years. So when you enjoy a slice of old-fashioned apple crisp, you’re partaking in a culinary tradition that has stood the test of time. Next time you're looking for a comforting dessert that celebrates the flavors of fall, give this apple crisp a try—you won't regret it!
For more delicious apple dessert ideas, check out resources from Epicurious or Food Network.
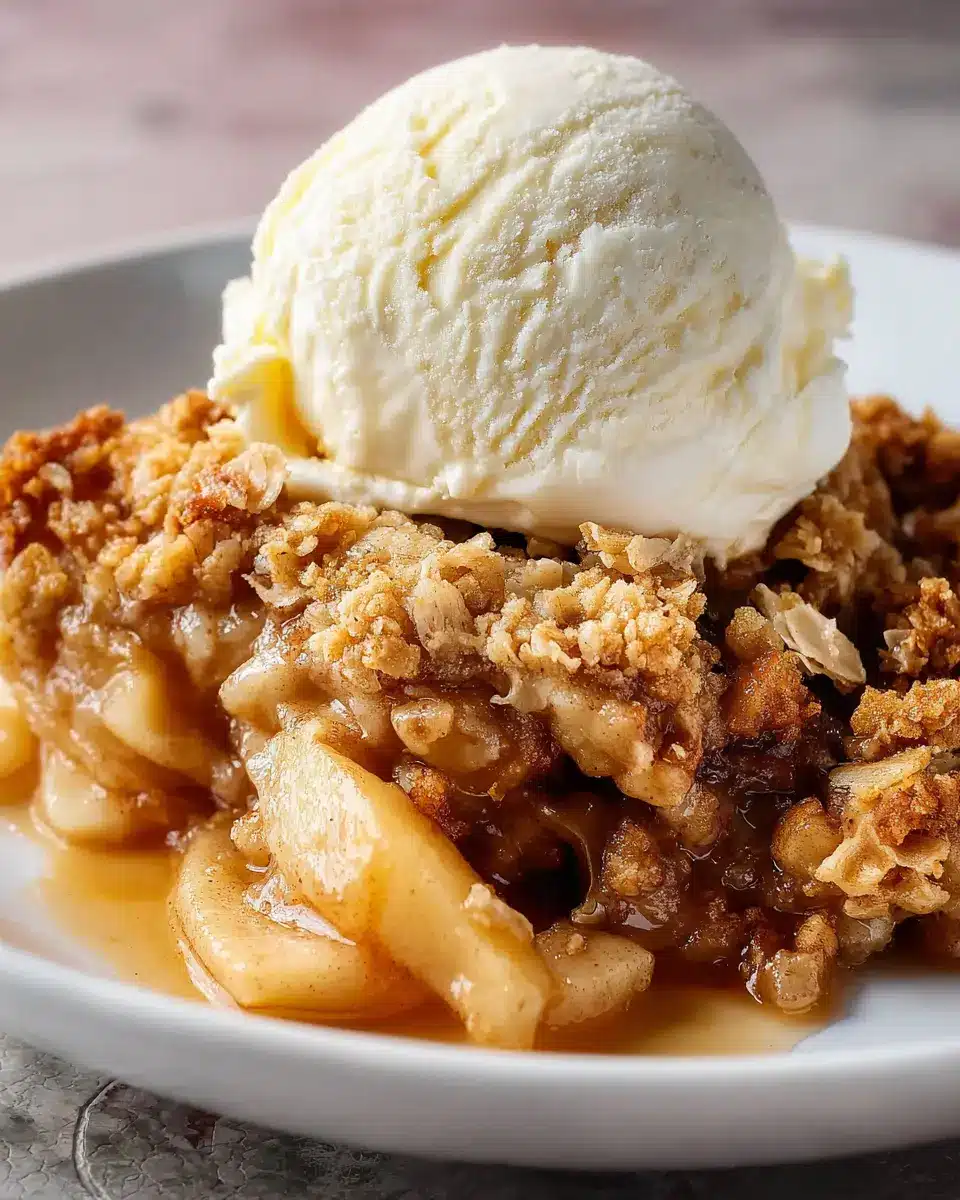
Ingredients for Old-Fashioned Apple Crisp
Creating a cozy, delicious old-fashioned apple crisp starts with the right ingredients. With a perfect balance of sweet and tart apples, combined with a crumbly topping, you’ll be on your way to a dessert that's both nostalgic and inviting. Let’s dive in!
For the Apple Filling
For the heart of your apple crisp, you’ll need:
- 10 cups peeled, cored, and thinly sliced apples (about 7–8 medium apples)
- ½ cup light brown sugar, packed
- ¼ cup granulated sugar
- ⅓ cup all-purpose flour
- 2 tsp ground cinnamon
- ½ tsp ground nutmeg
- 1 tsp vanilla extract
This combination ensures a sweet and aromatic base that pairs perfectly with the crisp topping.
For the Crisp Topping
To crown your apple filling, gather these items for a delightful crisp topping:
- 1⅓ cups quick-cooking oats (not instant)
- 1⅓ cups all-purpose flour
- 1 cup light brown sugar, packed
- 1½ tsp ground cinnamon
- ½ tsp salt
- ½ tsp baking powder
- ¾ cup unsalted butter, melted
This layer gives your crisp that signature crunch. Remember to use quality ingredients for a truly outstanding flavor — it makes a world of difference! If you're looking for some tips on selecting apples, check out the University of Minnesota Extension for great resources.
Step-by-Step Preparation of Old-Fashioned Apple Crisp
Creating a delicious old-fashioned apple crisp is a delight, not just because of its sweet, comforting flavors, but also due to the simple, rewarding steps involved. Let’s dive right into the preparation!
Preheat the oven and prepare the baking dish
To start, preheat your oven to 350 °F (175 °C). This step is crucial, as it ensures your dessert bakes evenly. While your oven is warming up, grab a 9×13-inch baking dish and lightly grease it with butter or a non-stick spray. This will prevent your crispy creation from sticking—nobody wants a dessert disaster!
Mix the apple filling ingredients
Now it’s time to focus on the star of the show: the apple filling! In a large mixing bowl, combine:
- 10 cups of peeled, cored, and thinly sliced apples (about 7–8 medium apples)
- ½ cup light brown sugar, packed
- ¼ cup granulated sugar
- ⅓ cup all-purpose flour
- 2 teaspoon ground cinnamon
- ½ teaspoon ground nutmeg
- 1 teaspoon vanilla extract
Gently fold the ingredients together until the apples are evenly coated. You could use a wooden spoon or your hands—just be careful not to mush the apples. The blend of spices and sugars infuses the apples with a delightful flavor. If you're looking for inspiration, check out Food52's tips on apple varieties for baking.
Spread the apple mixture in the baking dish
Once your filling is ready, spread the apple mixture into the bottom of your prepared baking dish. Aim for an even layer so the apples cook perfectly, giving you that classic old-fashioned apple crisp vibe.
Prepare the crisp topping
Next up is the topping! In another bowl, mix the following ingredients:
- 1⅓ cups quick-cooking oats
- 1⅓ cups all-purpose flour
- 1 cup light brown sugar, packed
- 1½ teaspoon ground cinnamon
- ½ teaspoon salt
- ½ teaspoon baking powder
- ¾ cup unsalted butter, melted
Stir everything until the mixture becomes crumbly and well-coated. This topping is where the magic happens—crunchy, buttery goodness that pairs beautifully with the soft, spiced apples!
Assemble and bake the apple crisp
Finally, we’re ready to assemble the apple crisp. Simply sprinkle your crumble topping evenly over the apple mixture. Then, pop the dish into the preheated oven and let it bake uncovered for 40–45 minutes. You’ll know it’s ready when the topping is golden brown and the apple filling is bubbling up at the edges.
Once done, let it stand for about 5 minutes before serving. This allows the filling to thicken slightly, making each spoonful of your old-fashioned apple crisp just divine. Serve it warm, perhaps with a scoop of vanilla ice cream for that extra touch!
Enjoy the process, and remember that the best moments in the kitchen are often shared with loved ones. Happy baking!
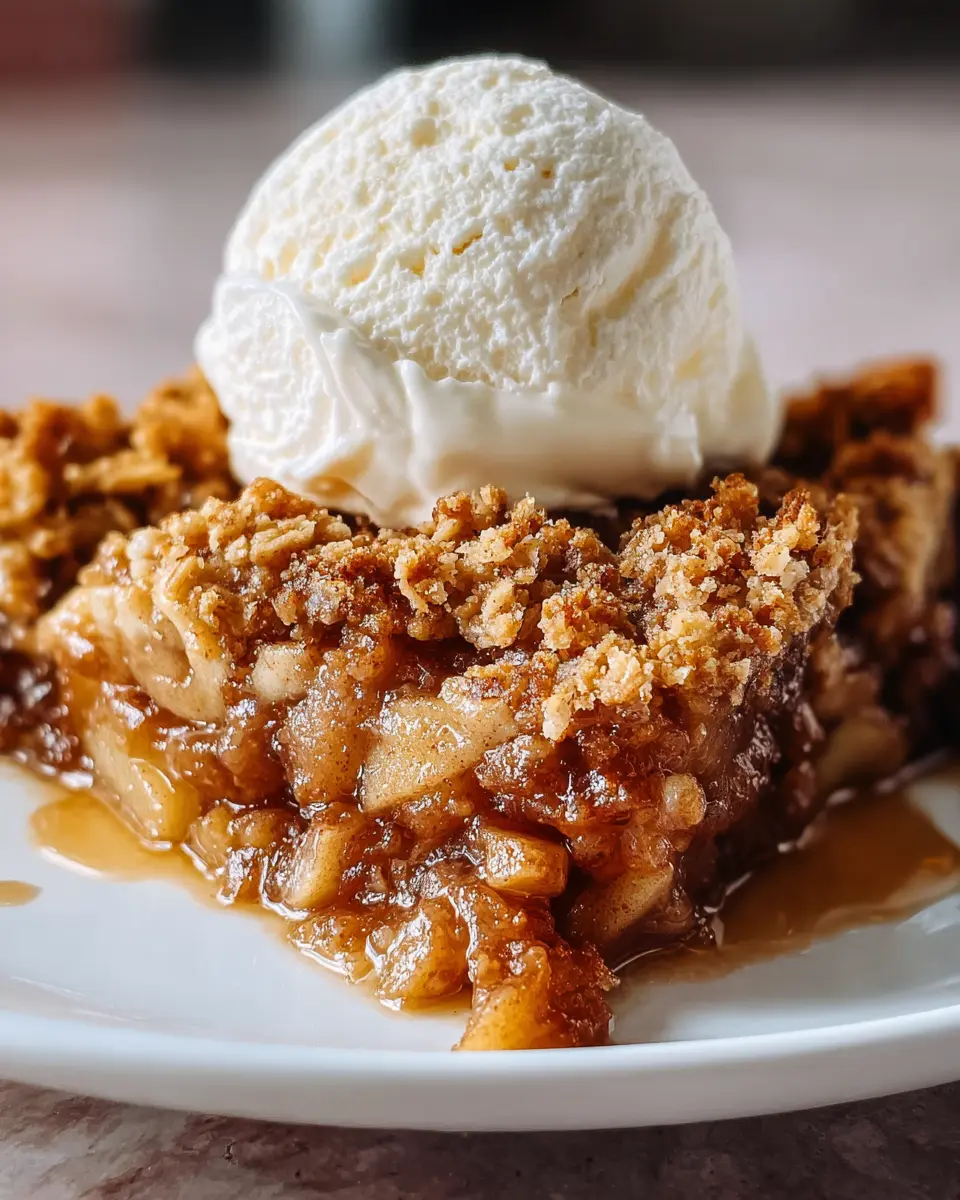
Variations on Old-Fashioned Apple Crisp
Adding nuts for extra crunch
Why not kick your old-fashioned apple crisp up a notch by tossing in some chopped nuts? Walnuts, pecans, or almonds add a delightful crunch and enhance the flavor profile. Just stir in about ½ cup of your favorite nuts to the crisp topping before spreading it over the apples. Trust me, the added texture will elevate your dessert and make it even more satisfying!
Experimenting with different fruits
Don’t hesitate to get creative! While classic apples are the star of this dish, mixing in other fruits can yield delicious results. Consider adding ripe pears, tart cherries, or even berries for a burst of flavor. For a twist, try this mixing technique and let the seasonal produce inspire you. Remember, each variation will bring a unique taste and aroma, enhancing your old-fashioned apple crisp experience. Enjoy experimenting!
Baking Notes for Old-Fashioned Apple Crisp
Tips for Choosing the Best Apples
Selecting the right apples is key to achieving that deliciously cozy vibe with your old-fashioned apple crisp. Opt for a mix of tart and sweet apples like Granny Smith and Honeycrisp. Their contrasting flavors create a satisfying depth. It's essential to pick firm apples without bruises for the best texture. Also, consider checking out local farmers' markets, where you can often find freshly harvested options that pack unparalleled flavor.
Secrets for a Perfectly Crisp Topping
To achieve the ideal crunch in your topping, don't skip the quick-cooking oats. They provide a desirable texture that regular oats can’t quite match. Combining brown sugar with a touch of cinnamon enhances the flavor, while melted butter ensures the oats get that golden hue we all love. Remember, the key is to mix until it's just crumbly—overmixing can lead to a dense topping. And a tip you won’t want to forget: let your crisp sit for a few minutes after baking to allow the filling to thicken up beautifully!
For more tips on crafting the perfect crisp, check out this guide on apple varieties or explore expert advice on baking techniques.
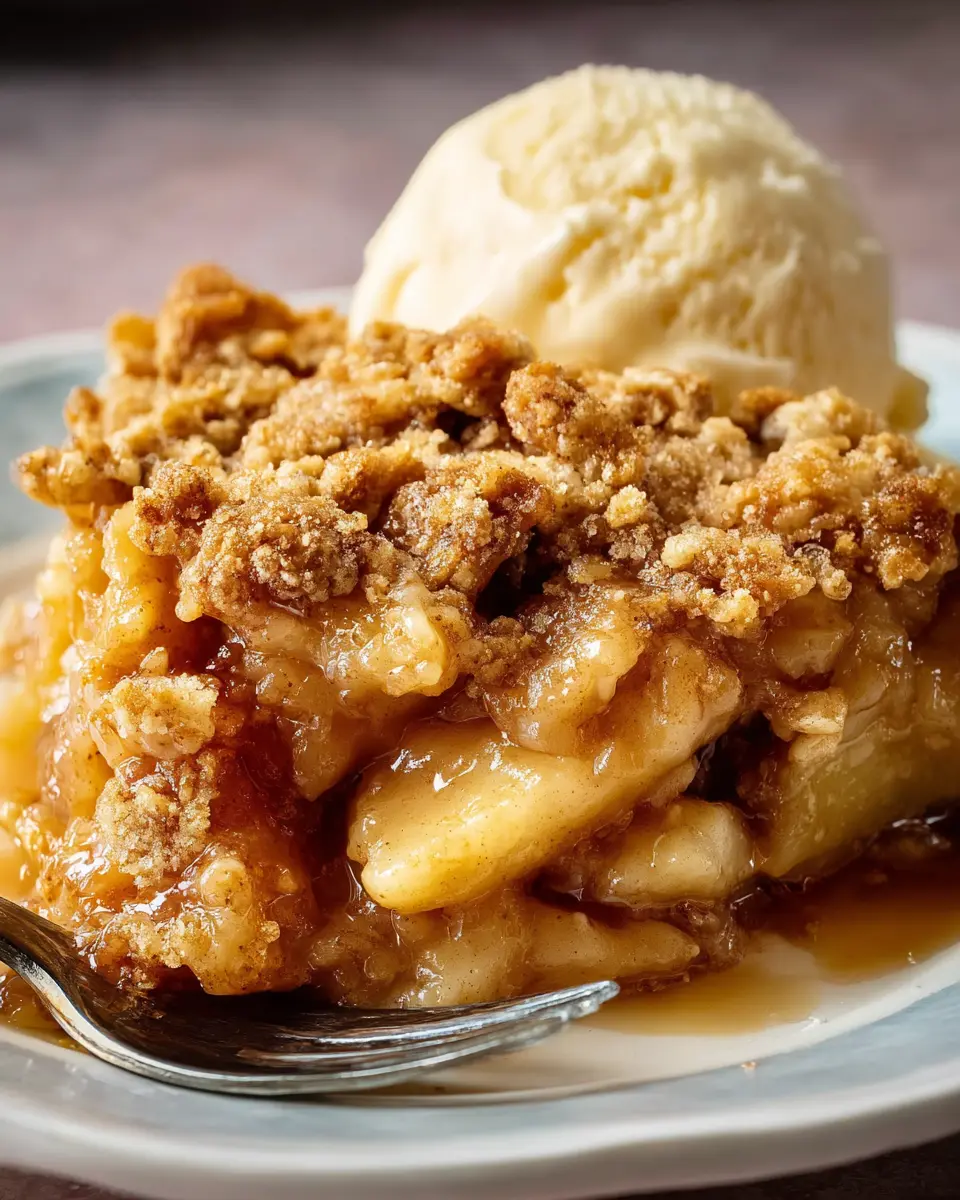
Serving Suggestions for Old-Fashioned Apple Crisp
Pairing with Ice Cream or Whipped Cream
One of the best ways to elevate your old-fashioned apple crisp is by serving it with a scoop of vanilla ice cream or a dollop of whipped cream. The creamy texture beautifully complements the warm, spiced apple filling, creating a delightful contrast that's hard to resist. If you're feeling adventurous, try drizzling caramel sauce on top for an extra indulgent touch!
Enjoying It Warm vs. Room Temperature
While some love their old-fashioned apple crisp straight from the oven, others prefer it at room temperature. Warm apple crisp is comforting and aromatic, making it a cozy dessert option for chilly evenings. Conversely, if you let it sit for a bit, cooling it enhances the flavors, allowing the spices and sweetness to deepen.
Whichever way you choose, be sure to enjoy every bite!
Time Breakdown for Old-Fashioned Apple Crisp
Preparation Time
Getting started with your old-fashioned apple crisp is a breeze! Set aside about 25 minutes for peeling, slicing, and mixing those juicy apples with the perfect blend of sugar and spices.
Baking Time
While your kitchen fills with irresistible aromas, let the crisp bake for 40 to 45 minutes until it’s golden brown and bubbly.
Total Time
With a total commitment of just 1 hour and 10 minutes, you’ll have a delicious dessert ready to share with family and friends. Isn’t that worth every minute? Just think of the warm, comforting taste of this nostalgic treat!
For more tips on making the perfect apple dessert, check out the USDA’s resources on apples or get inspired by seasonal recipes.
Nutritional Facts for Old-Fashioned Apple Crisp
When indulging in a warm serving of old-fashioned apple crisp, it's helpful to know what you're treating yourself to. Packed with flavor, this dessert offers a balance of sweet and wholesome ingredients. Here’s a quick look at its nutritional profile:
Calories
Each serving contains approximately 560 calories. It’s a delightful treat that brings nostalgia without excessive guilt.
Protein
With around 3 grams of protein per serving, the apple crisp isn’t a hefty source, but it contributes to your daily intake.
Dietary Fiber
Expect about 4 grams of dietary fiber for each serving, making this dessert not only tasty but also beneficial for digestion.
Understanding the nutrition behind your favorites can help you enjoy them more mindfully. For more insights on healthy choices, check out the American Heart Association for tips on incorporating fruits and fibers into your diet.
FAQs about Old-Fashioned Apple Crisp
Can I make apple crisp ahead of time?
Absolutely! You can prepare your old-fashioned apple crisp filling and topping separately and combine them just before baking. For best results, assemble the mixture and store it in the refrigerator for up to 24 hours. Just remember to let it sit at room temperature for about 30 minutes before popping it into the oven.
What is the best way to store leftovers?
If you have any leftovers (which is a big if, with how delicious this dish is), store your apple crisp in an airtight container in the refrigerator for up to three days. When you’re ready to enjoy it again, a quick reheat in the microwave or a few minutes in a 350 °F oven will bring that delightful crispiness back.
Can I substitute the sugar with a healthier option?
Definitely! If you’re looking for a healthier alternative, consider using maple syrup or honey instead. Adjust the quantity to taste, and keep in mind that using liquids might change the texture slightly. For more inspiration, check out this informative Healthline article about sugar substitutes.
Conclusion on Old-Fashioned Apple Crisp
Cherishing the simplicity and comfort of homemade desserts
In a world of ever-evolving culinary trends, old-fashioned apple crisp remains a timeless favorite. Its warm, inviting flavors evoke memories of family gatherings and cozy evenings. Whipping up this delightful dish is not just cooking; it’s a way to cultivate cherished traditions. So grab those apples and share a slice of comfort today!

Old-Fashioned Apple Crisp
Equipment
- 9x13 inch baking dish
Ingredients
Apple Filling
- 10 cups peeled, cored, and thinly sliced apples (about 7–8 medium apples)
- ½ cup light brown sugar packed
- ¼ cup granulated sugar
- ⅓ cup all-purpose flour
- 2 teaspoon ground cinnamon
- ½ teaspoon ground nutmeg
- 1 teaspoon vanilla extract
Crisp Topping
- 1⅓ cups quick-cooking oats (not instant)
- 1⅓ cups all-purpose flour
- 1 cup light brown sugar packed
- 1½ teaspoon ground cinnamon
- ½ teaspoon salt
- ½ teaspoon baking powder
- ¾ cup unsalted butter melted
Instructions
Preparation
- Preheat oven to 350 °F (175 °C). Lightly grease a 9×13-inch baking dish.
- In a large bowl, fold together the sliced apples, brown sugar, granulated sugar, flour, cinnamon, nutmeg, and vanilla extract until the apples are evenly coated.
- Spread the apple mixture in an even layer in the prepared baking dish.
- In another bowl, combine oats, flour, brown sugar, cinnamon, salt, and baking powder. Add the melted butter and stir until the mixture is crumbly and fully coated.
- Sprinkle the crisp topping over the apples in an even layer.
- Bake uncovered for 40–45 minutes, or until the topping is golden brown and the apple filling is bubbling at the edges.
- Let stand 5 minutes before serving to allow the filling to thicken slightly.

Leave a Reply